
The Trunchbull Cake + Pink Summer Cocktails. Happy Friday!
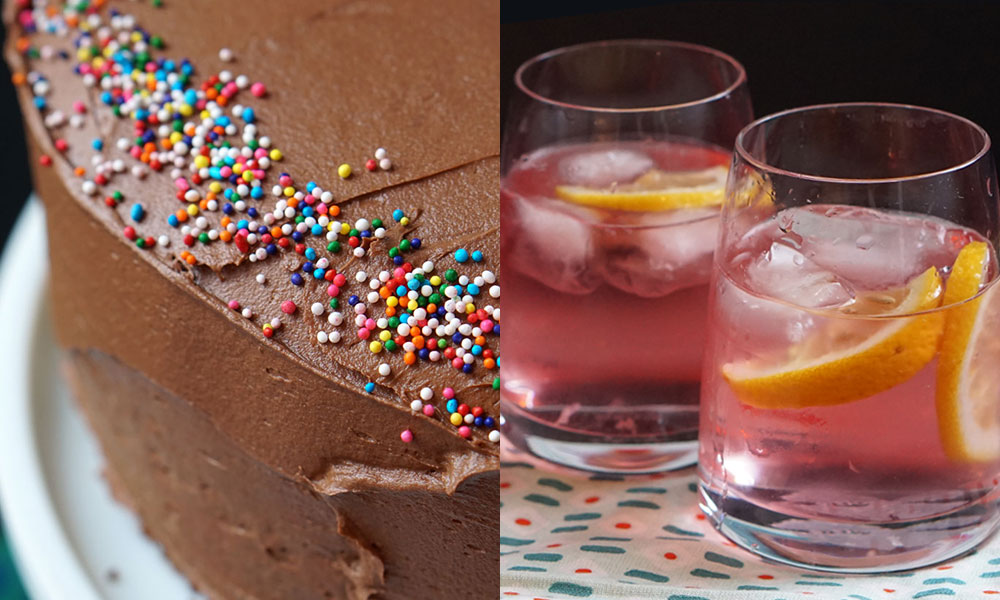
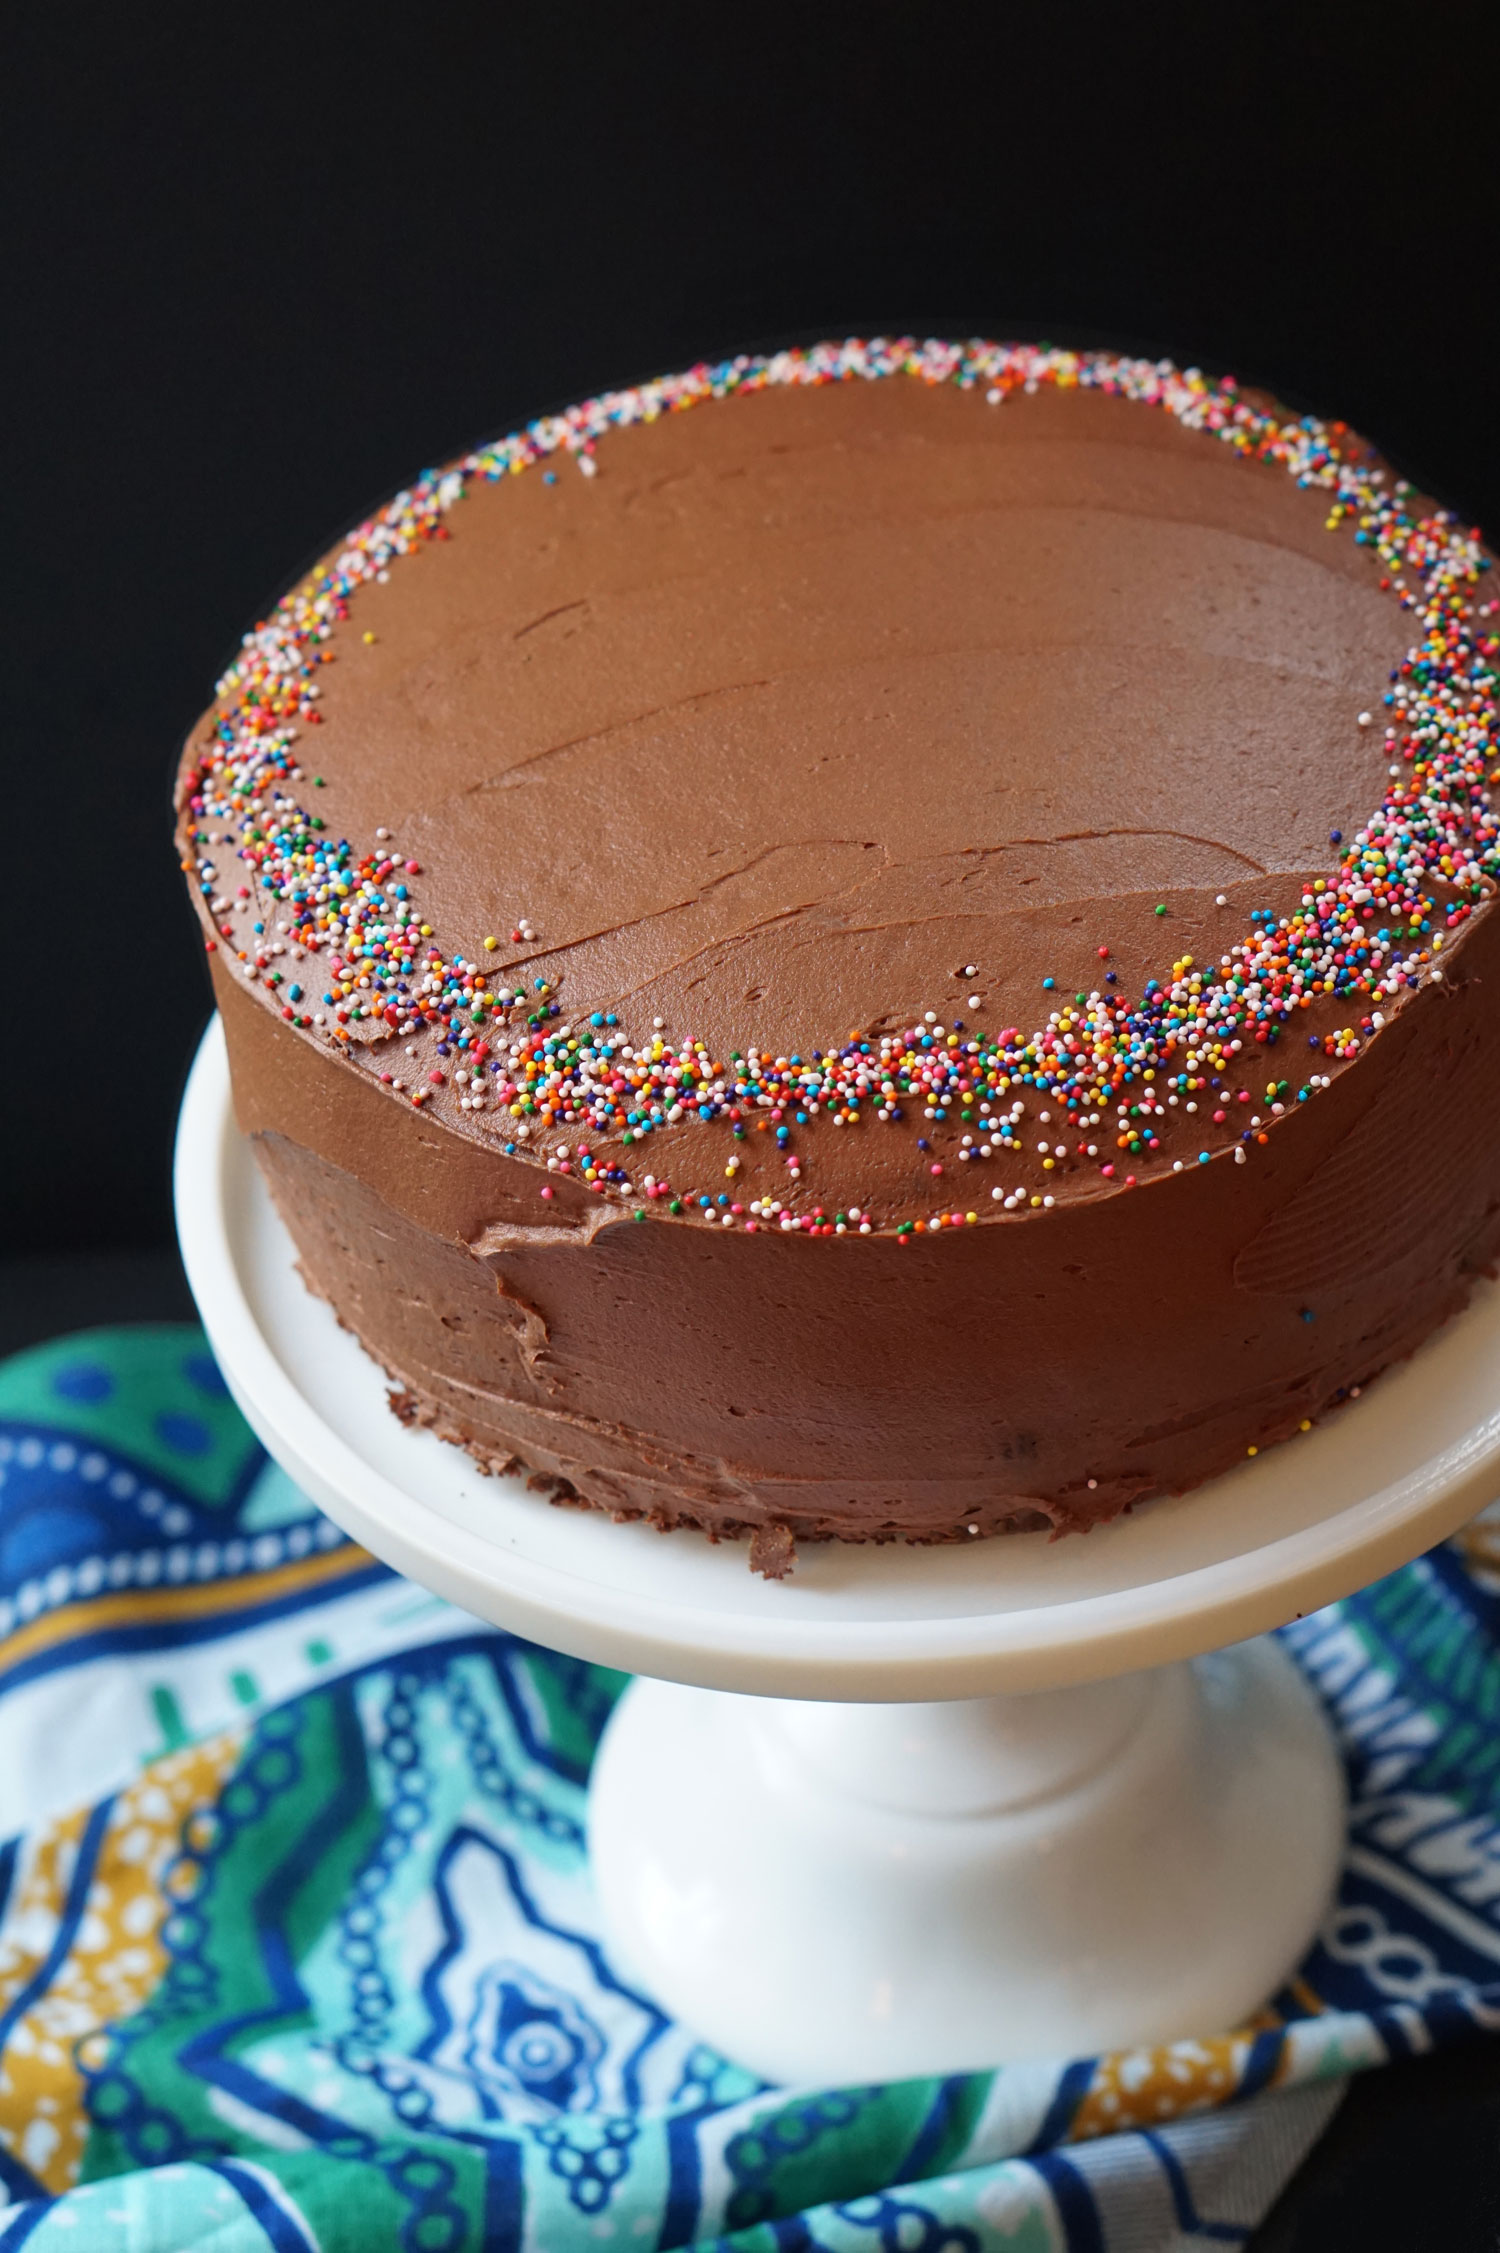
It’s Friday! *Screams internally.* And here at TFD HQ, there is no better way to celebrate a looming weekend — especially one where the both of us are on little vacations — than with a huge chocolate cake and some delicious cocktails. When Lauren was shopping for food photography props the other day, she came across this adorable cake stand for nine dollars (!) at Marshall’s, so it seemed like the perfect occasion to finally make the decadent, chocolate-on-chocolate layer cake from Matilda.
And to wash it down, we made a light, fresh cocktail that is the exact shade of pink you’d want it to be for a nice summer weekend. Make one (or both!) of these awesome items (instead of splurging on a night out at a bar), invite over a couple of friends, have them bring something savory like a pizza and salad, and have a an adorable little summer party for a fraction of the price.
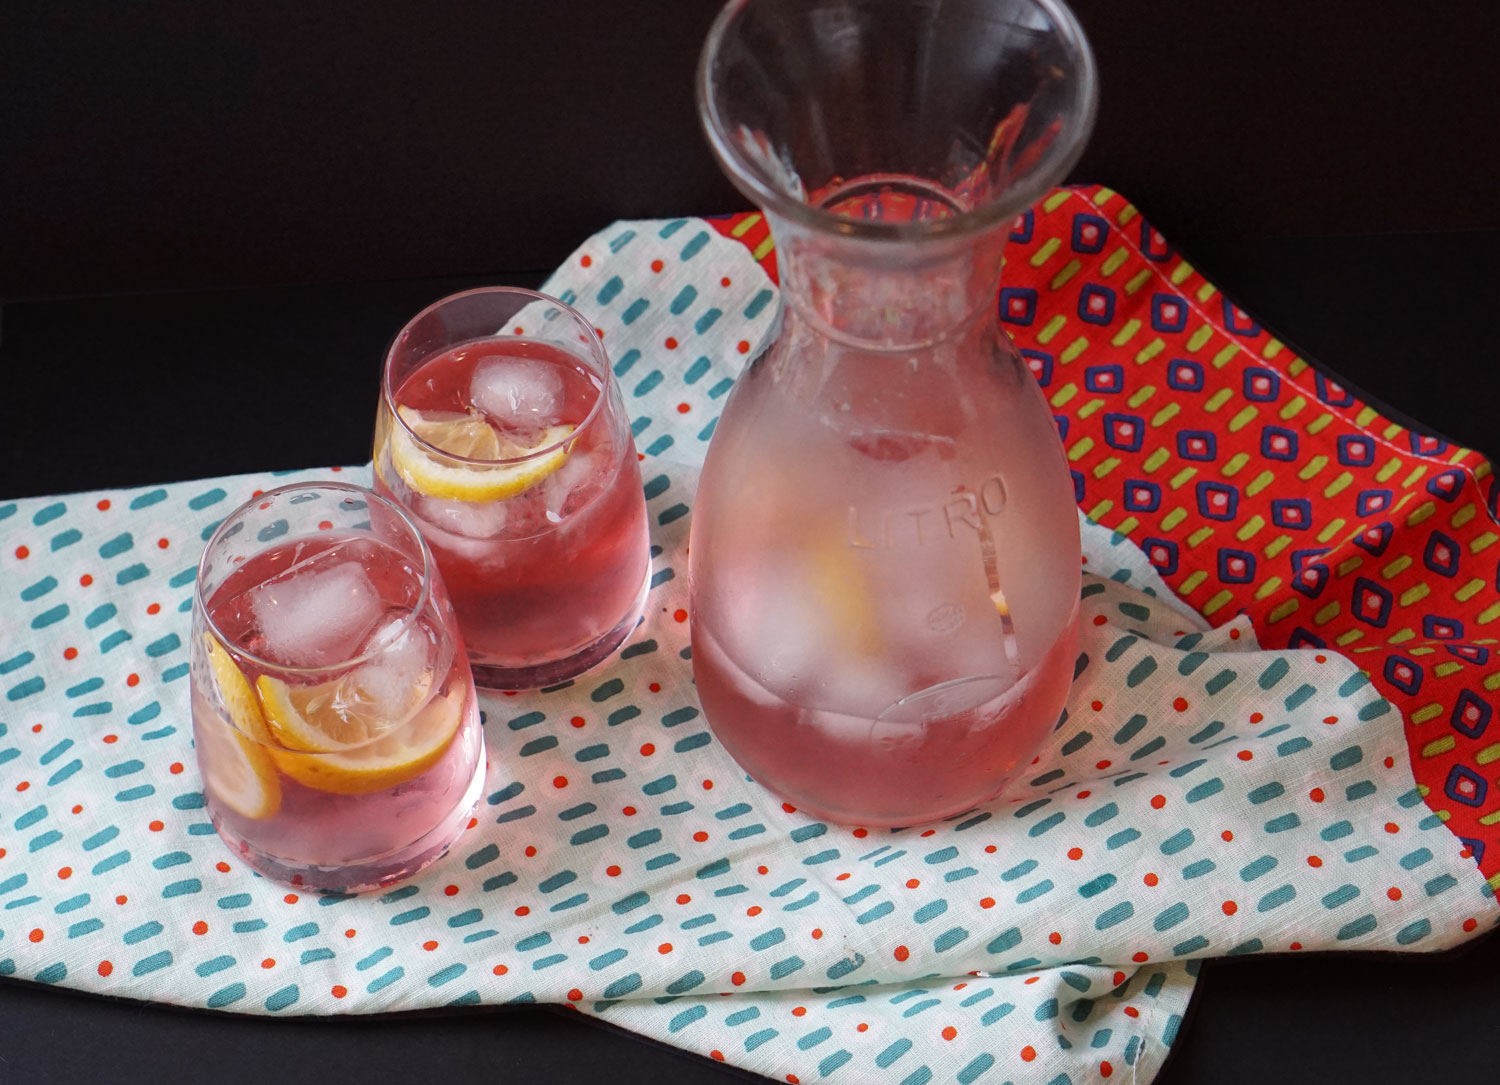
Pretty-in-Pink Summer Cocktail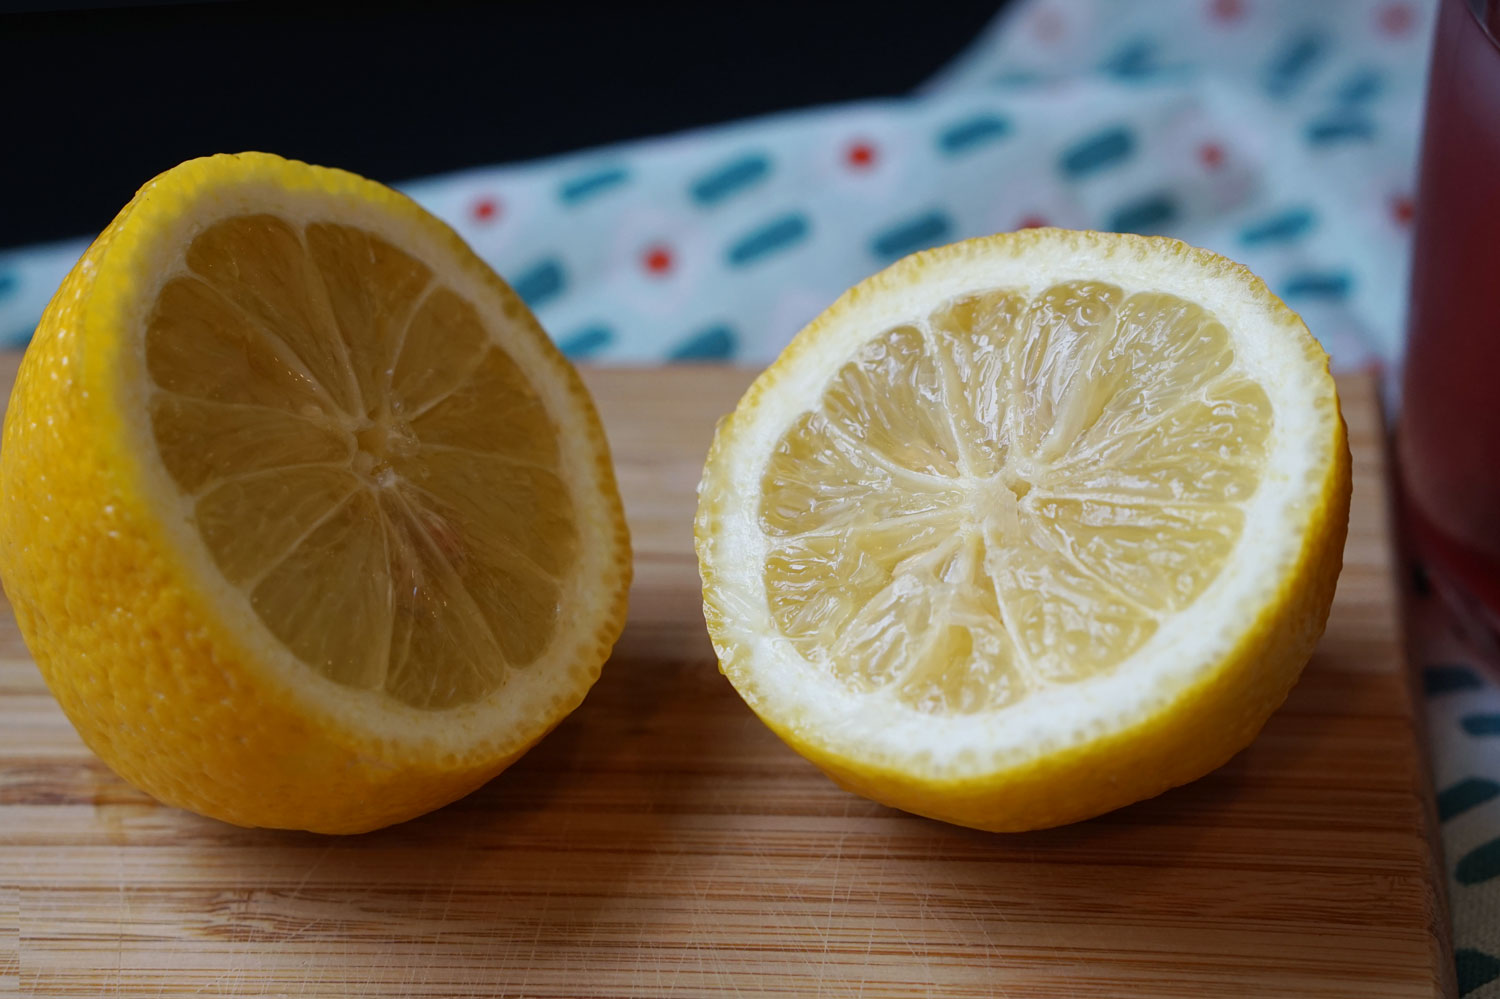
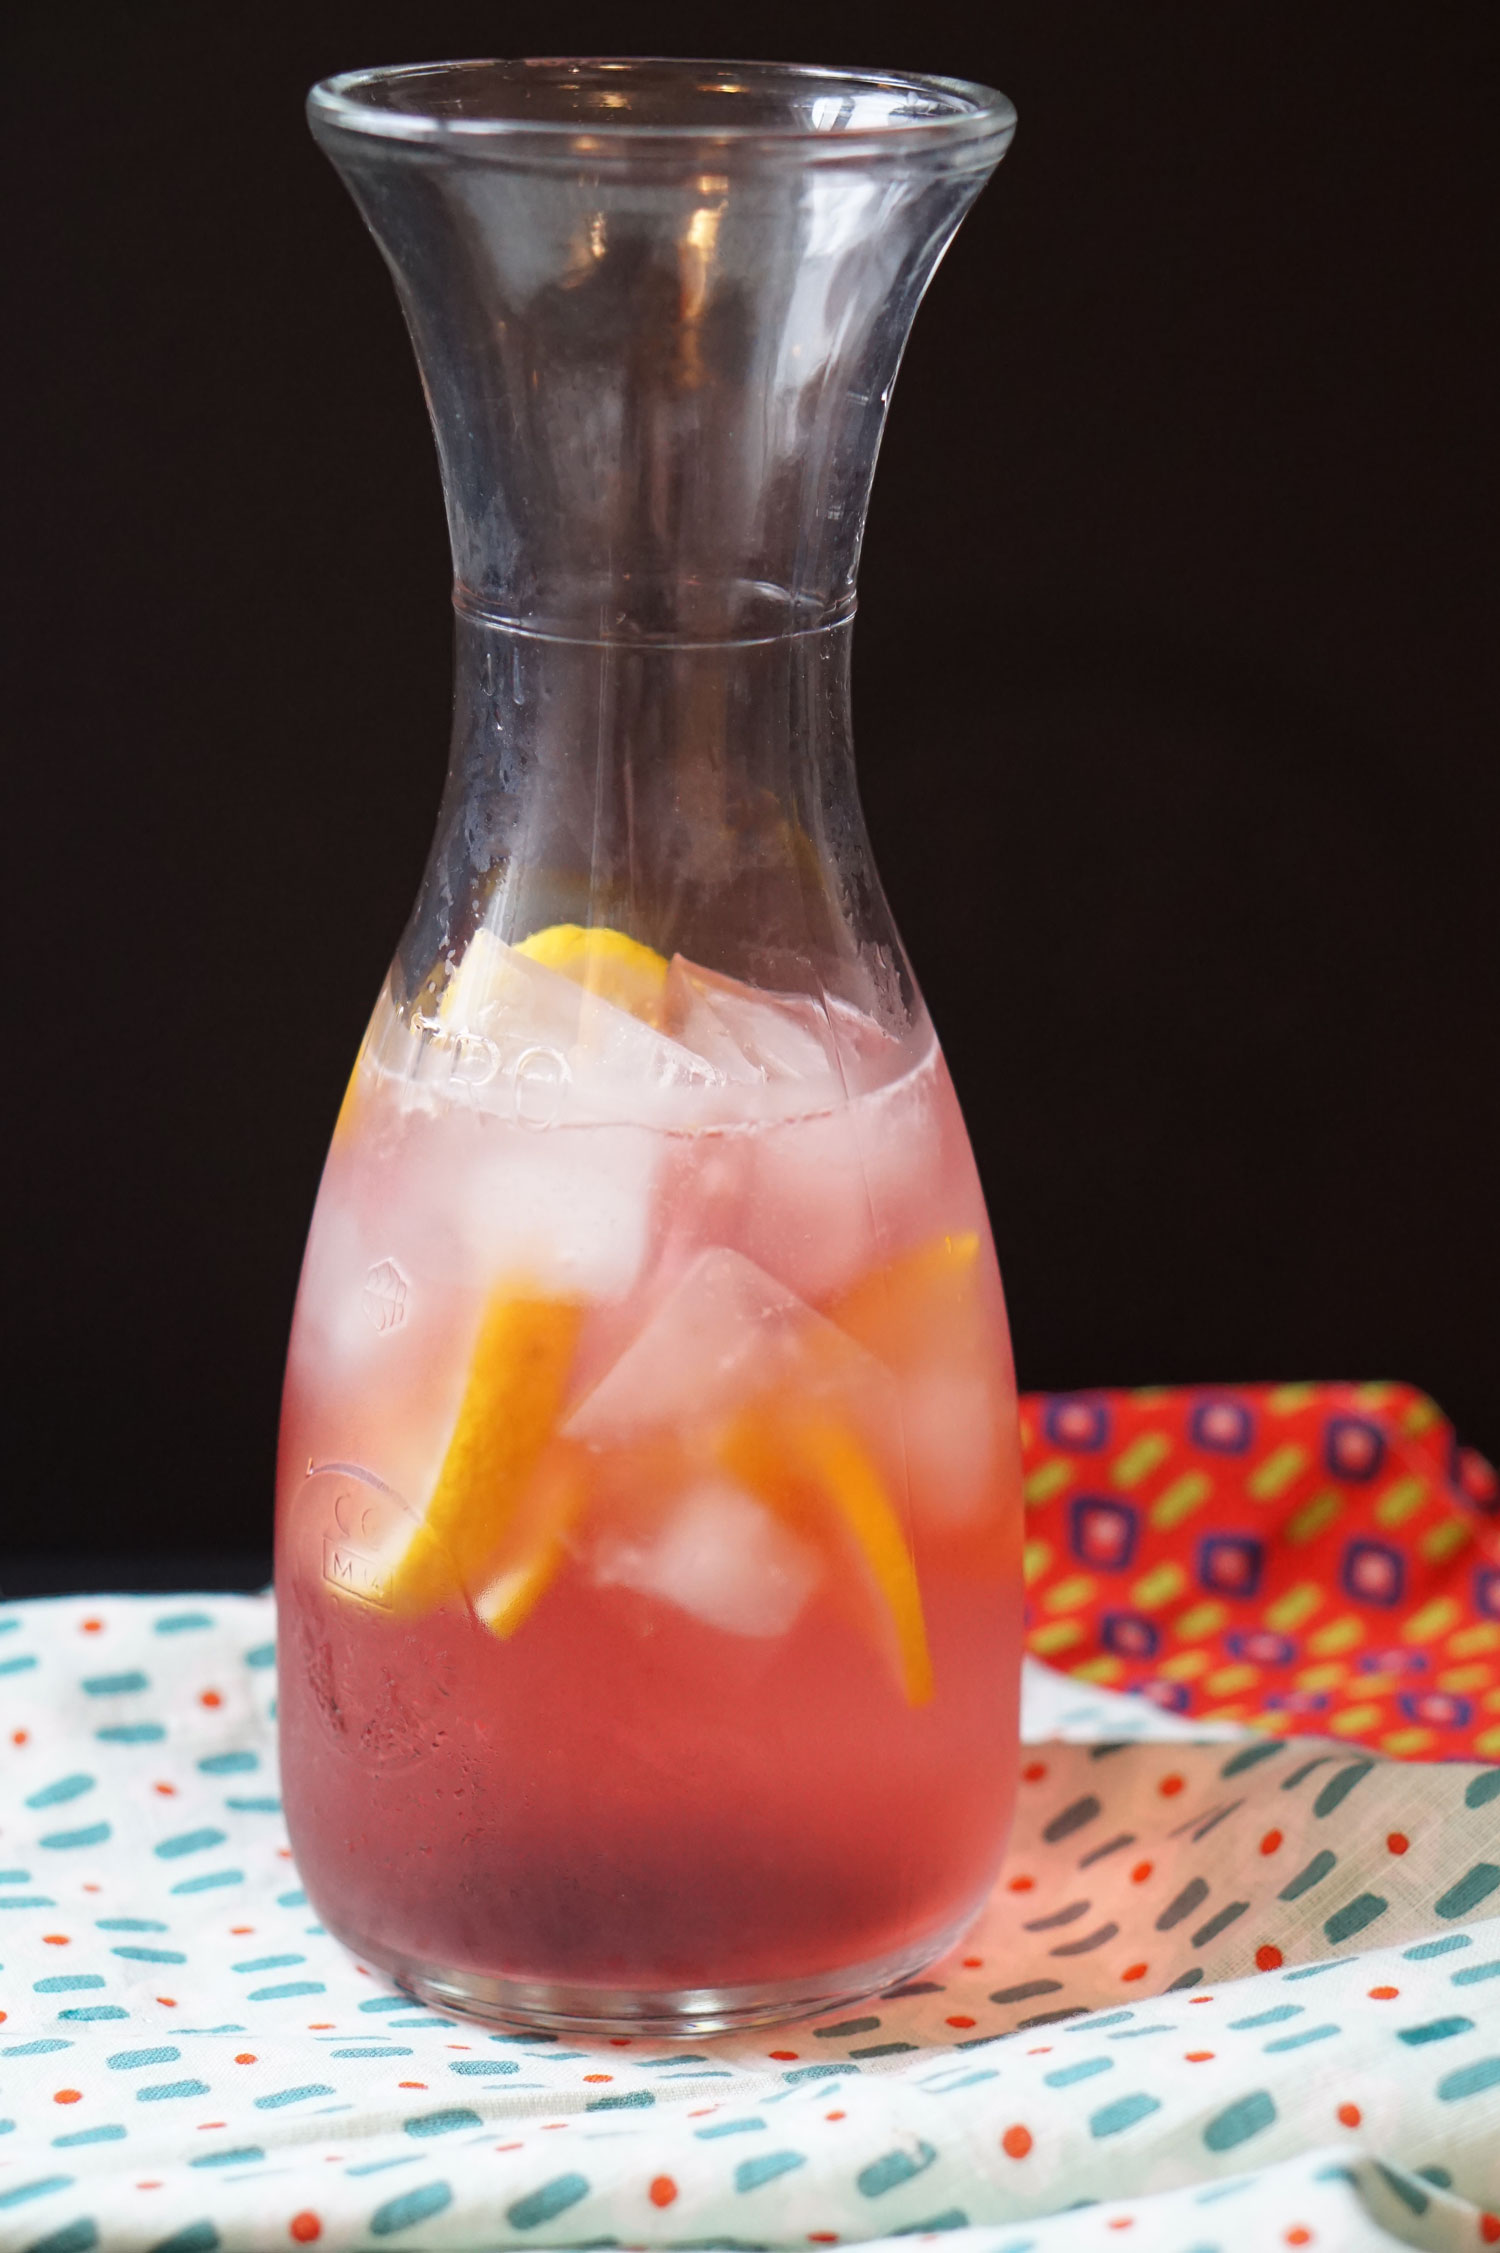
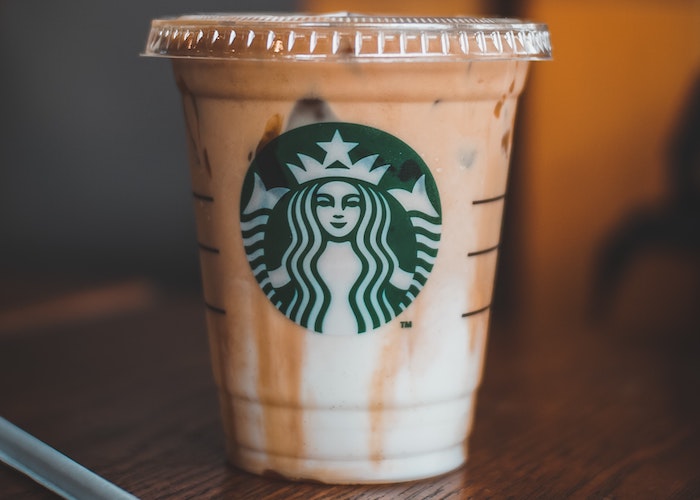
When Chelsea posted a picture of our favorite summer refresher the other day — club soda with a splash of Snapple fruit punch — the response was awesome. And it dawned on us that this super-crisp, calorie-negligible drink that tastes just like Cherry 7-Up would make an awesome cocktail. So to take it to the ~next level~, we added a little bit of liquor and some fresh lemon slices, served in a nice carafe. (Seriously, if you don’t have a nice glass carafe or pitcher, pick one up for under 10 bucks anywhere, because they make all your drinks — especially your cocktails — feel so much more special and festive.)
You’ll need:
-1 part St Germain
-2 parts vodka
-Club soda to fill (flavored or plain, Chelsea loves plain and Lauren loved pomegranate)
-Splashes of Snapple Fruit Punch (or your favorite flavor) until you’ve achieved the ideal pinkness/sweetness
-Fresh fruit slices (citrus is best here, keeps it fresh)
-Ice

And now, because we save the best for last, the ~~~cAkE~~~
The Trunchbull Chocolate Layer Cake

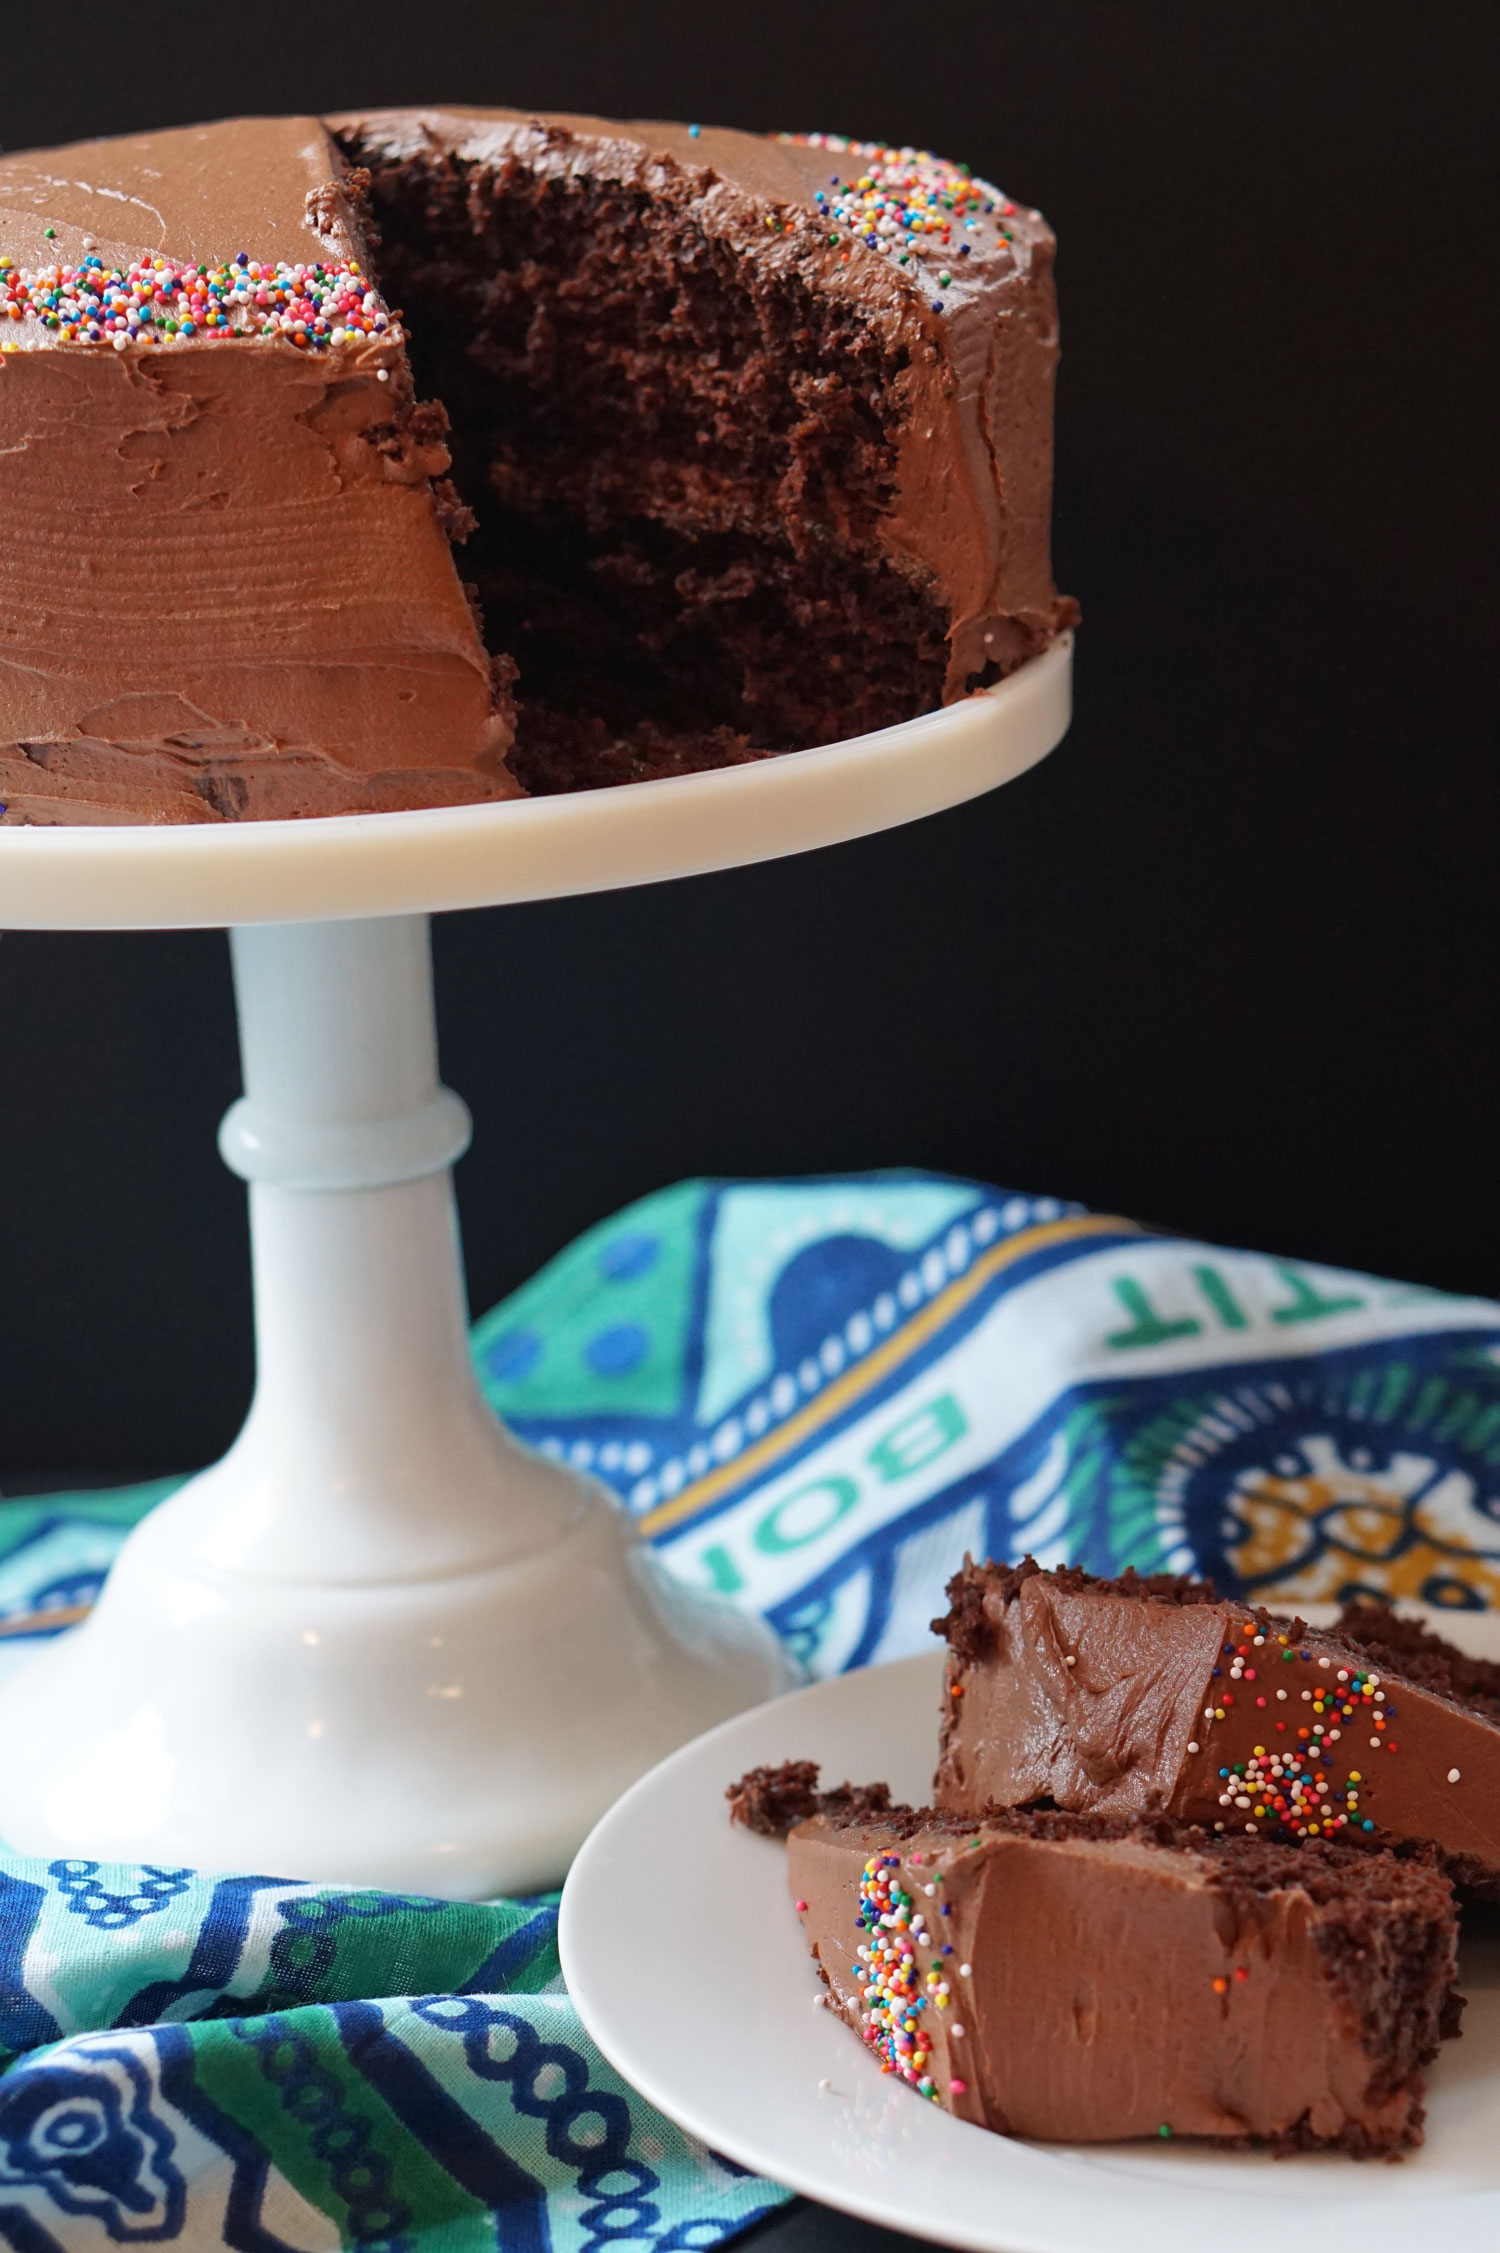
So this is going to serve as more of a “how to make and decorate a good cake” than a recipe itself, because the recipe itself is not that novel. The cake recipe is a very standard one that comes out moist & perfect every time, one you’ve probably made yourself before — it’s the one on the back of the Hershey’s cocoa box! Lauren and I both remember making this one before to great effect, and this time was no exception. We followed the directions exactly (though I recall my mom used to make little changes here and there which made it her own), and it came out perfectly. The recipe is here. (Our only note is that we cooked it a little longer than instructed because it was still quite liquidy at the allotted time.)

The frosting, however, was different from the one indicated above. We made a fresh chocolate buttercream with the following:
-4 sticks salted butter, softened to room temperature
-3.5 cups powdered sugar
-1 cup cocoa powder
-5 tablespoons heavy cream
-1 tablespoon vanilla extract
Its a pretty standard buttercream, adapted to our tastes (we like it a little less sweet than other people, so we reduced the amount of sugar). You can really adjust it however you like, and the base of the butter, sugar, and cream remain the same, but you can flavor it however you like — with more vanilla, or maybe almond, no cocoa, more cocoa, or totally different flavorings. Adapt it how you like!)
All you do is beat the butter and sugar together with a mixer until fluffy and perfectly combined (add the sugar in sections so it doesn’t explode into a cloud.) Once it’s combined, add your cocoa, and mix until creamily combined. Then add your vanilla and cream and beat together one last time. It takes a total of 10 minutes, and is really easy, but just make sure to a) add things in that order and b) sift your sugar. Not-perfectly-combined sugar makes for a lumpy/gritty frosting. You want it smooth and creamy.
Now, to properly frost a cake. Make sure to put your cake on your stand/tray/plate with strips of wax paper under it so that you can slide it out at the end and get a clean edge. (We only used two, Chelsea’s mom would have yelled at us, because you should really use four pieces so it’s easy to slide out. We had a little trouble.)
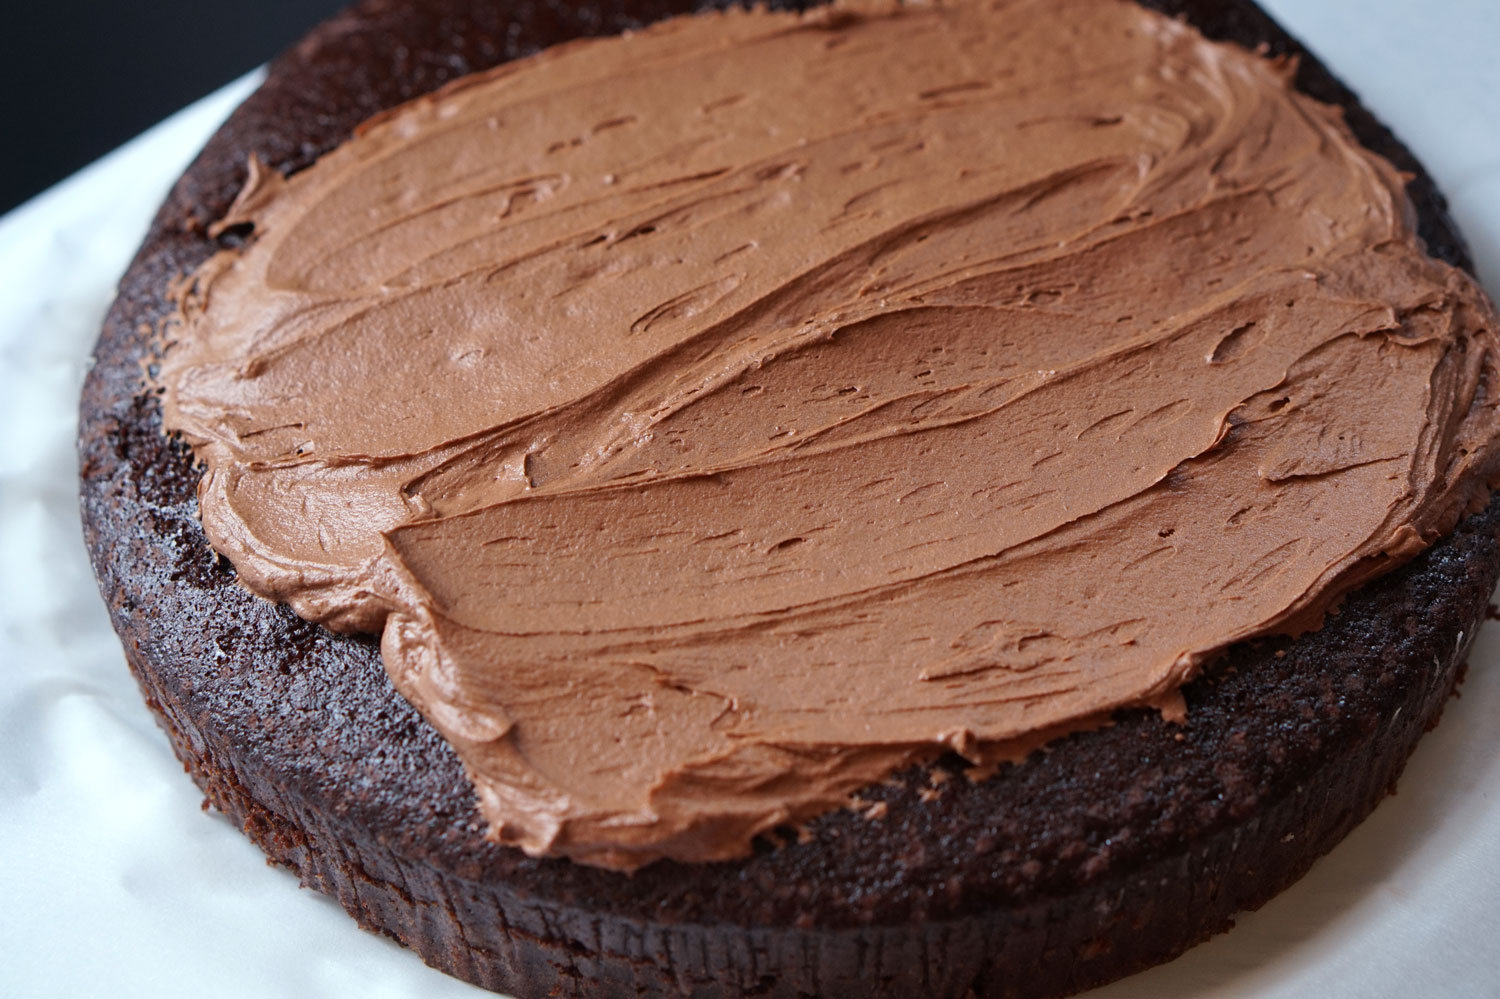
Frost your first layer, generously. Some of this will get absorbed by the cake itself.
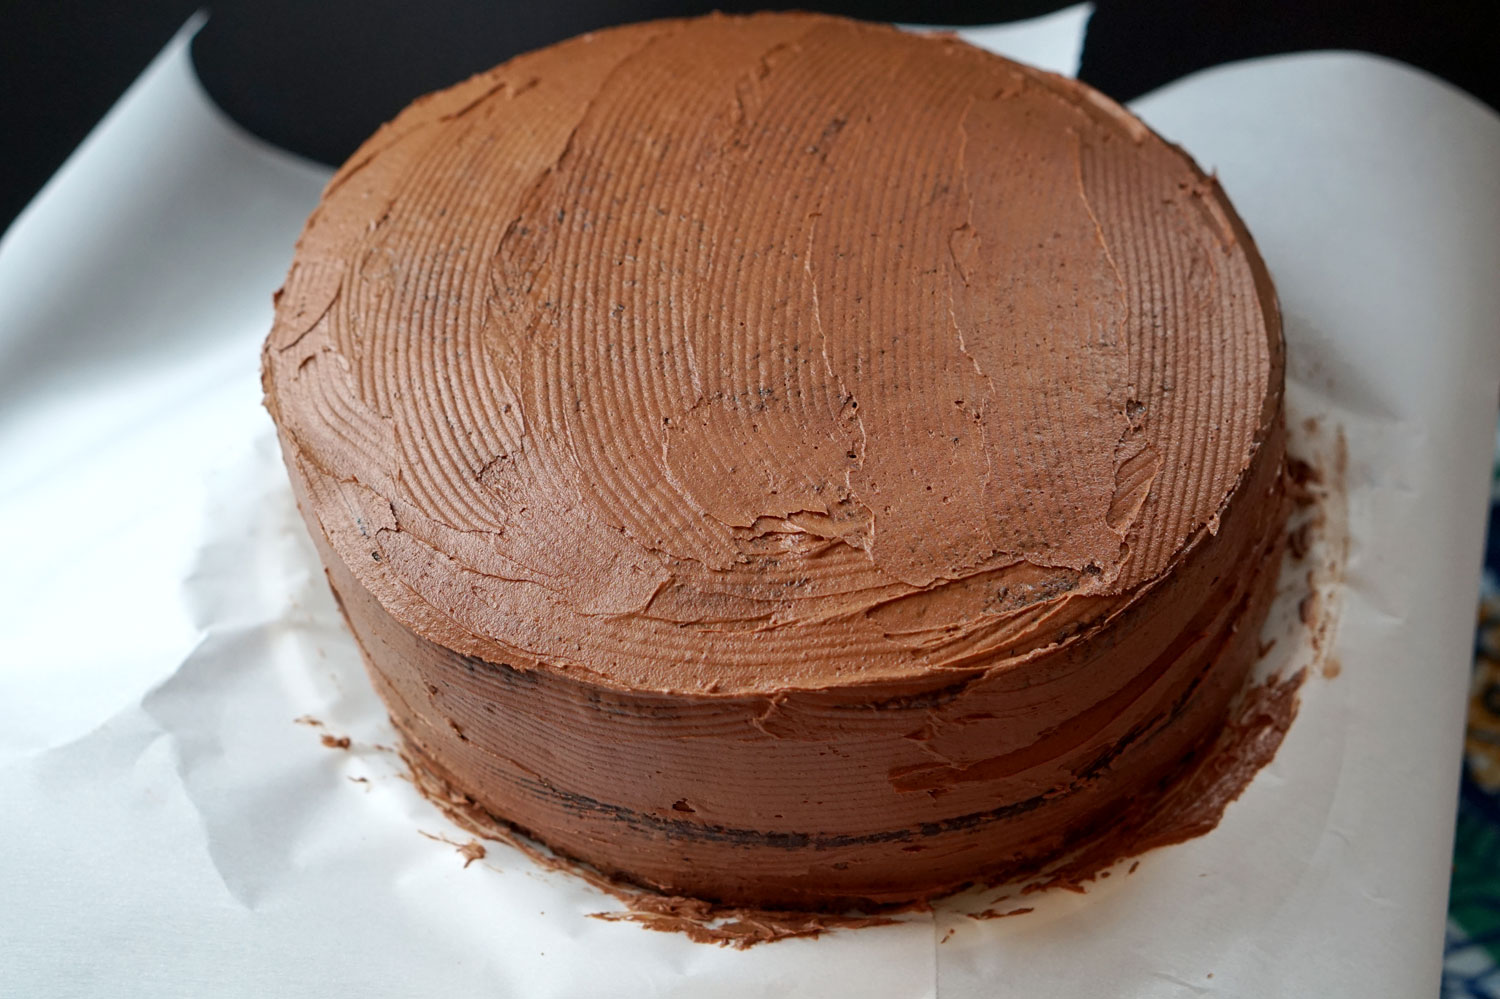
Add your second layer and do your crumb layer over the whole cake, which is essentially a really thin layer of frosting that gathers up all the errant crumbs and make a smooth, hard layer to do the “real” frosting over.
Once the crumb layer is on — and make sure it fills in the cracks along the side between the two layers so that the sides are perfectly even and smooth — let it sit for about 10-15 minutes so it can dry a bit.
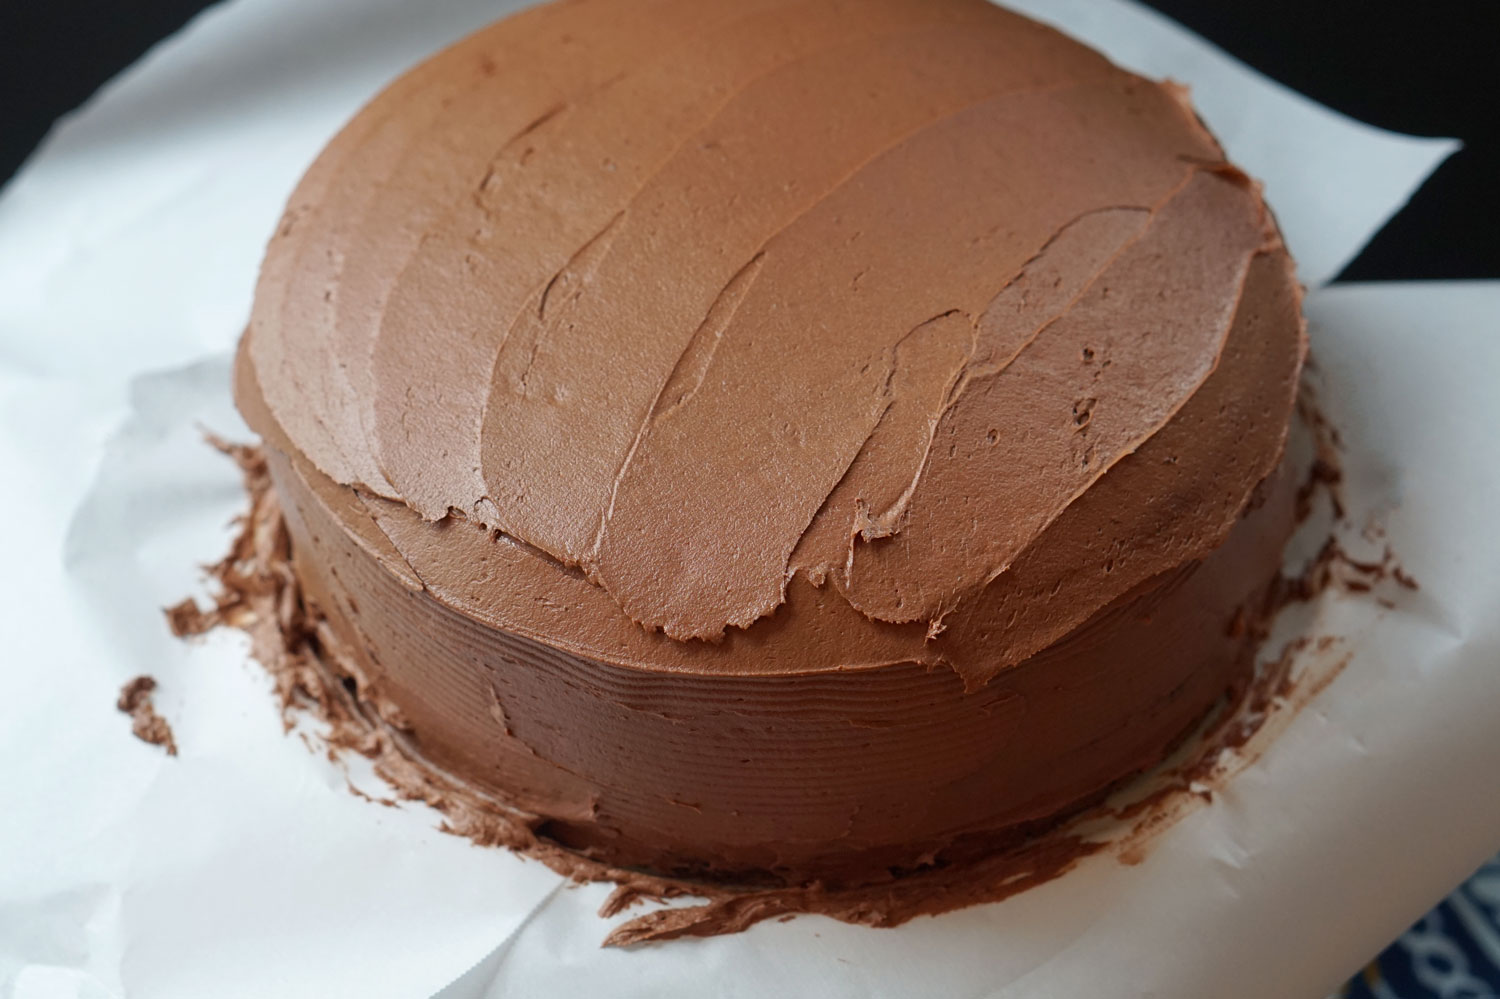
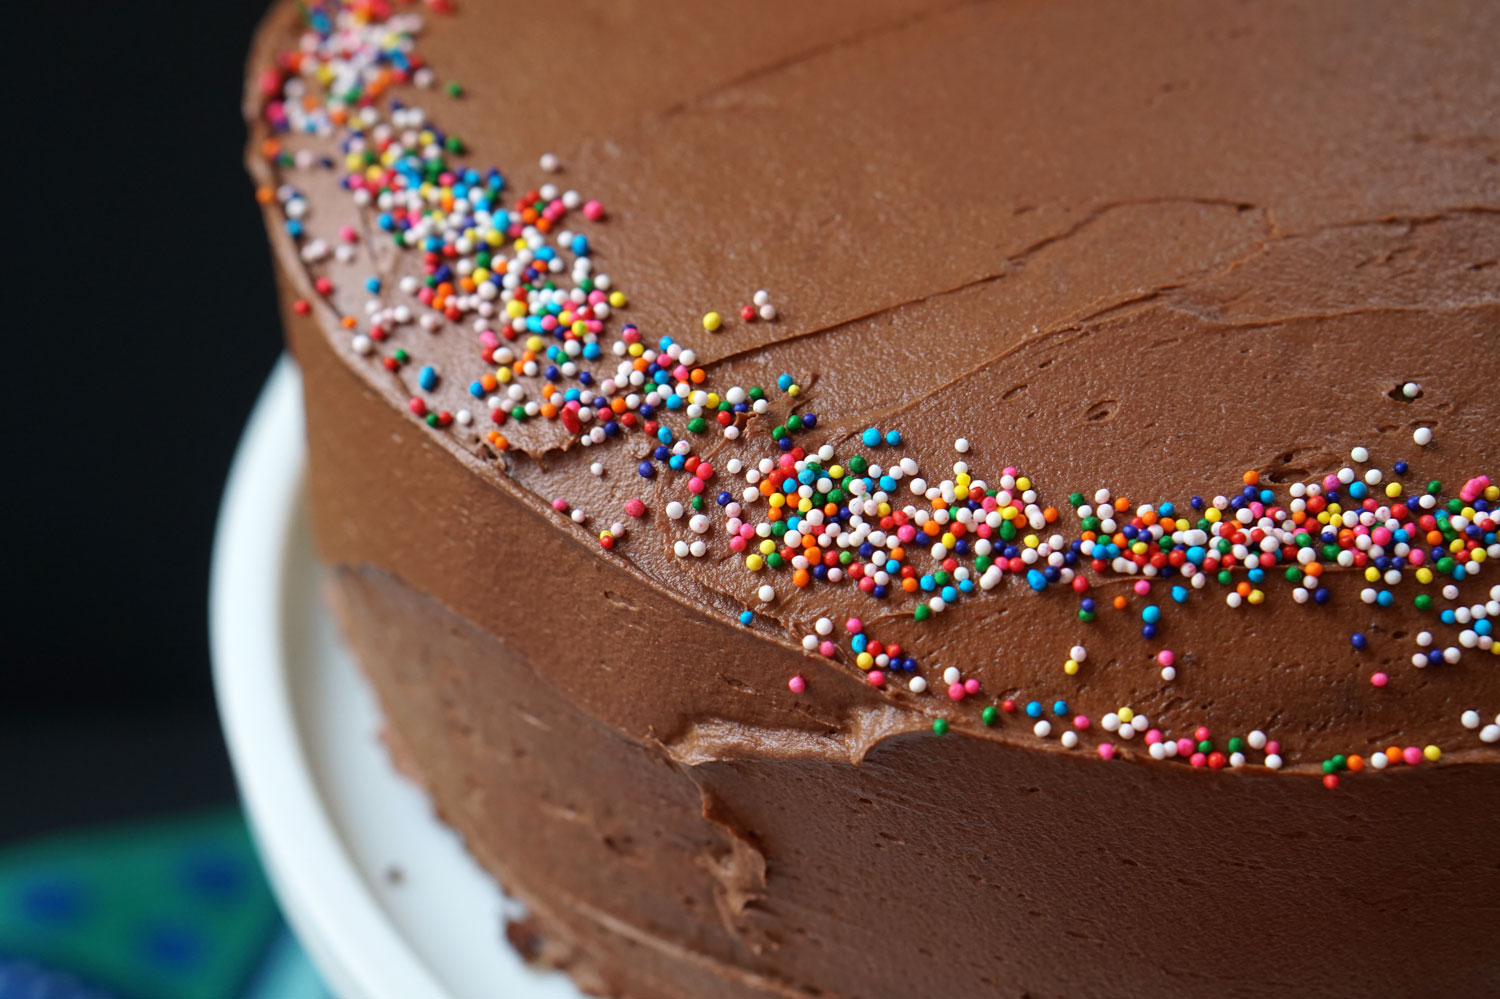
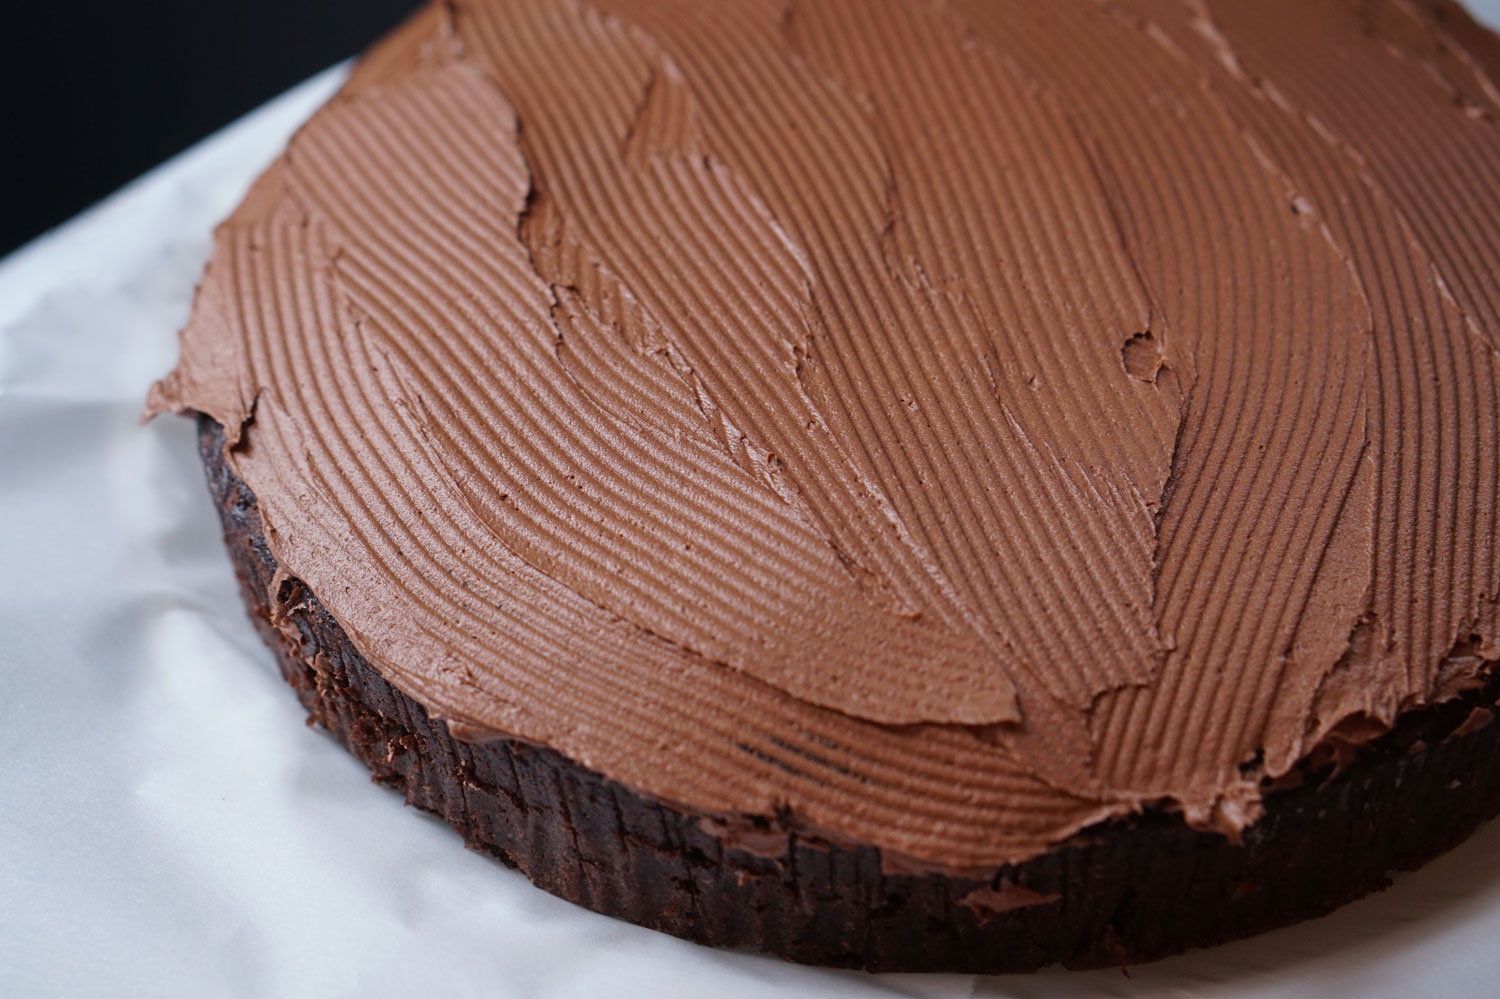
 Now, do your more generous “real” layer of frosting over the whole thing, making sure to be as consistent and even as you can. Smooth along the sides and edges, but don’t worry about it looking perfect, because homemade cakes that look perfectly smooth are kind of unsettling, and if we wanted an utterly smooth cake, we’d use fondant. And fondant is a crime.
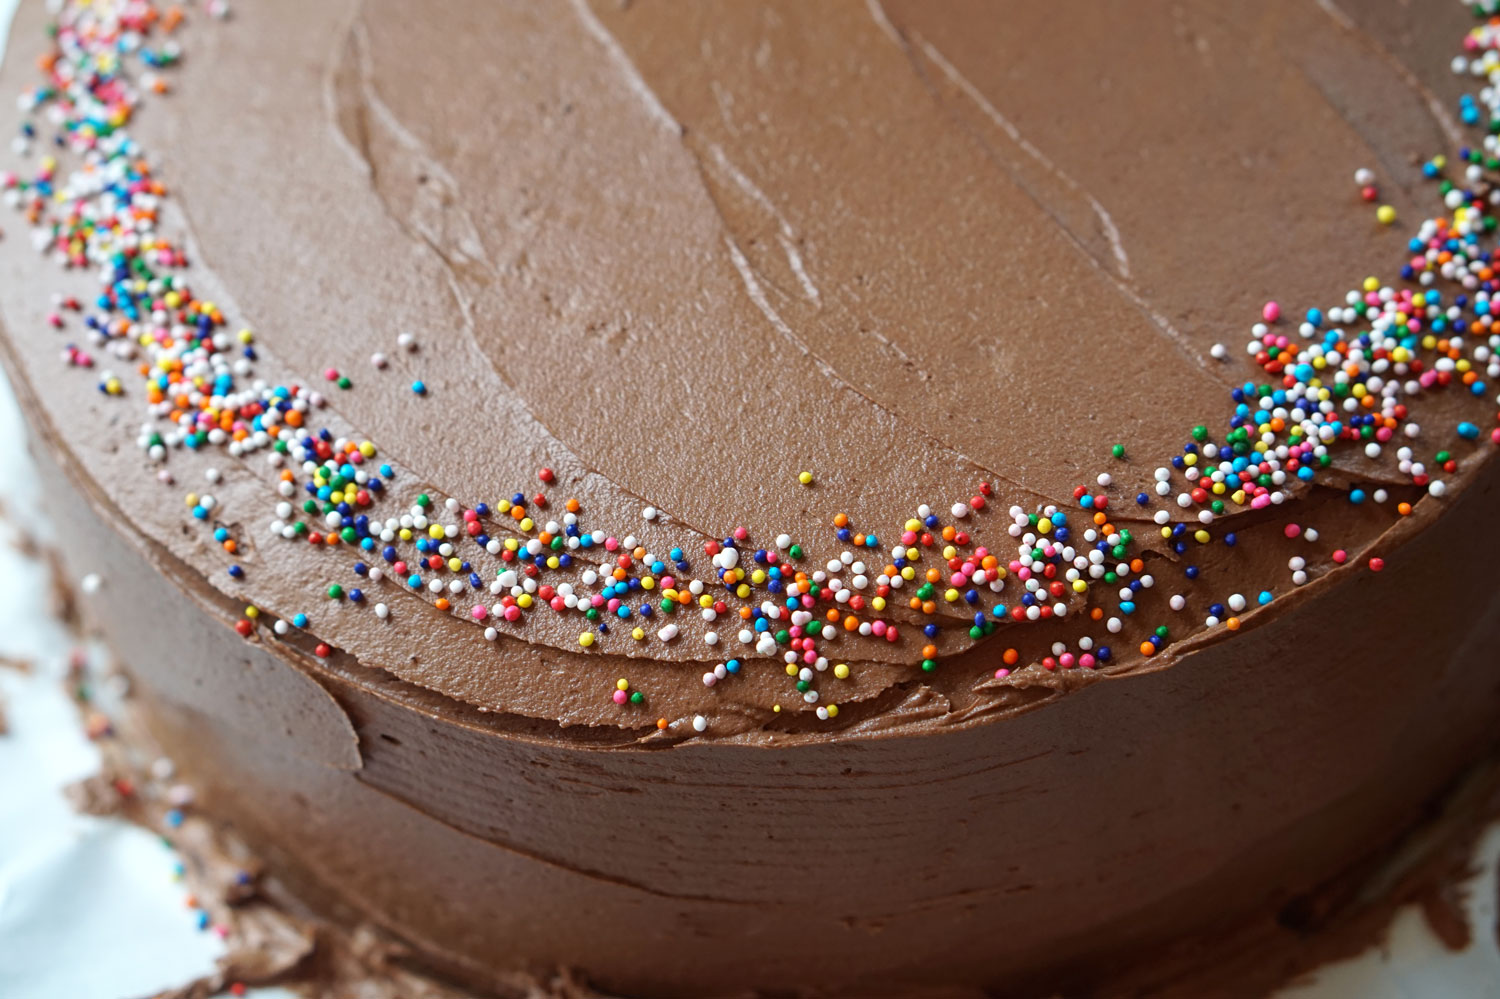
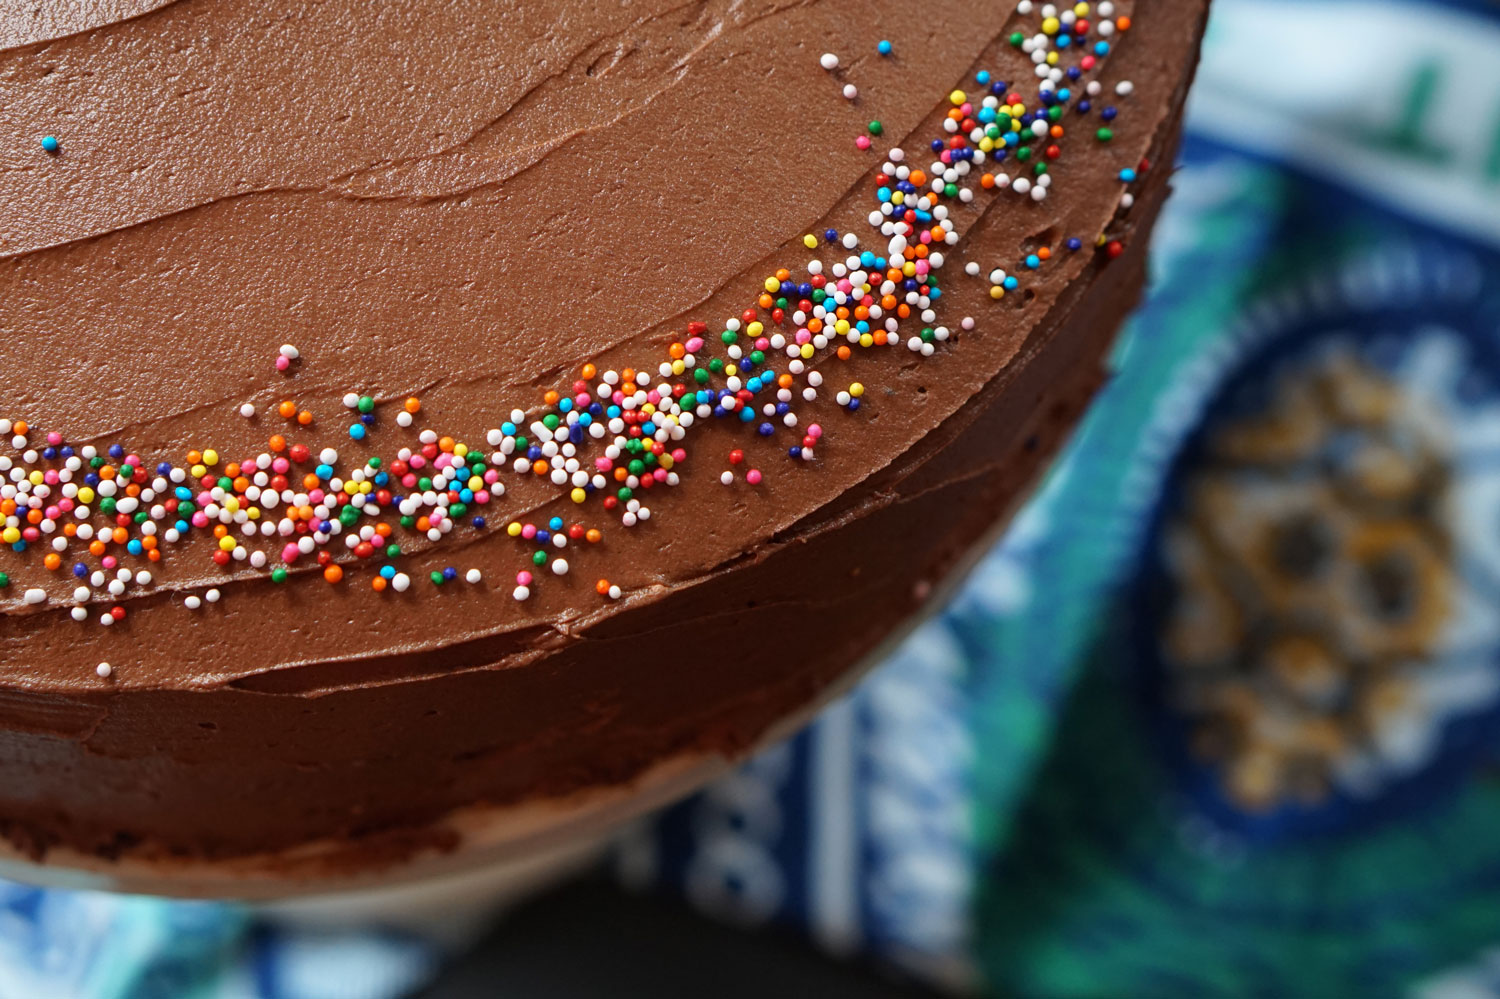
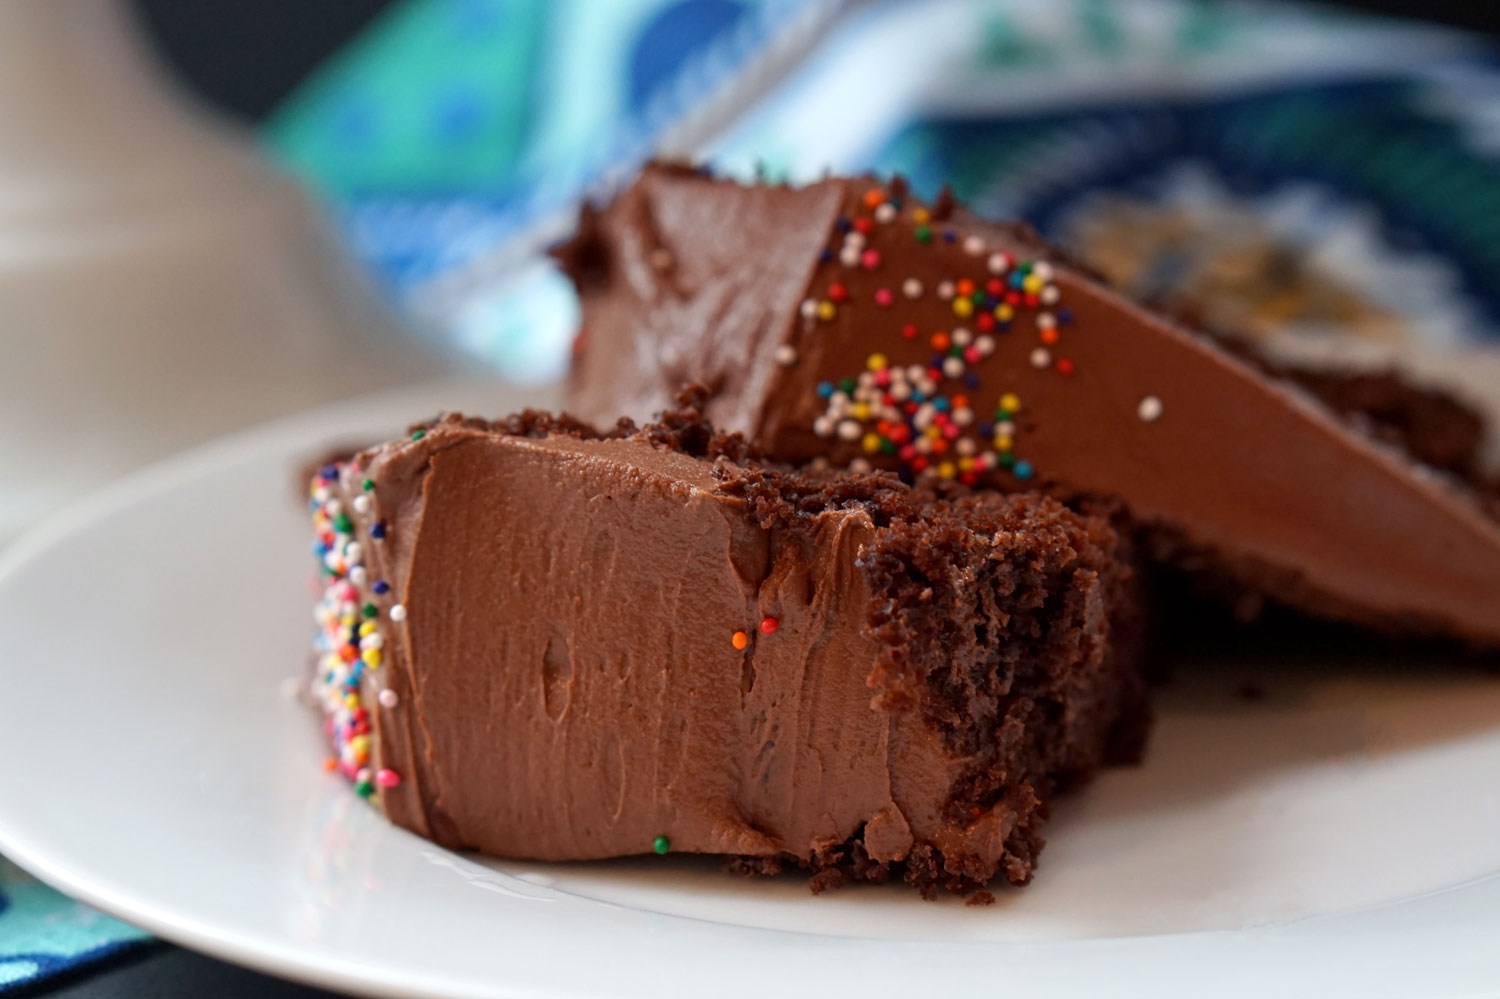
 Now, go crazy on your decor! We used sprinkles because IT’S THE WEEKEND, BABY! But seriously, put whatever you want on there. The point is that you made a beautiful chocolate cake for no reason, because we should use home cooking to make ourselves special little occasions that cost very little but make everyone feel festive and fun. You don’t have to wait for a birthday to enjoy the potential of your kitchen, just have a few friends over and enjoy.
We gave a big chunk of the cake to Chelsea’s nextdoor neighbors after dinner last night, and it made their whole evening, plus we got to meet their new puppy! Magical moments like this can happen at any time when you decide you don’t need a special occasion to make something really special. Enjoy, and happy Friday!
