
How To Create A Budget Spreadsheet In 10 Easy Steps
 We talk a lot about managing budgets here at TFD — Chelsea and I even made a video about it. Today, I’m going to go into more granular detail as to how one can actually create a monthly budget using my personal favorite method — Excel Sheets. Now, a lot of people prefer using apps to manage their budgets, and there are truly a ton of them out there. However, this is simply what works best for me, and I encourage you to try out some different options for yourself.
Personally, I use Google Excel Sheets to manage my expenses because I’m honestly too lazy to download the software to my computer. It’s also simpler to manage and keep track of everything since it’s stored in the cloud, and I have access to it whenever wherever.
Today, I’m going to take you through creating a budget in Excel for the purpose of tracking your monthly budget which will include: tracking your income, seeing how to track your savings goals, and tracking/organizing your expenses. Again, this is being done through Google Sheets, so you’ll have to have a Google account to use this feature.
DO NOT be intimated by the number of steps or photos! Seriously, I see these guides online and I’ll scroll through and think I could never understand them, but it’s really very easy once you understand how to set up basic formulas. Here we go — read on for my Excel budget template!
How to Create a Budget Spreadsheet
STEP 1: Open up Google, head to your Sheets page, create a new sheet, and name it.
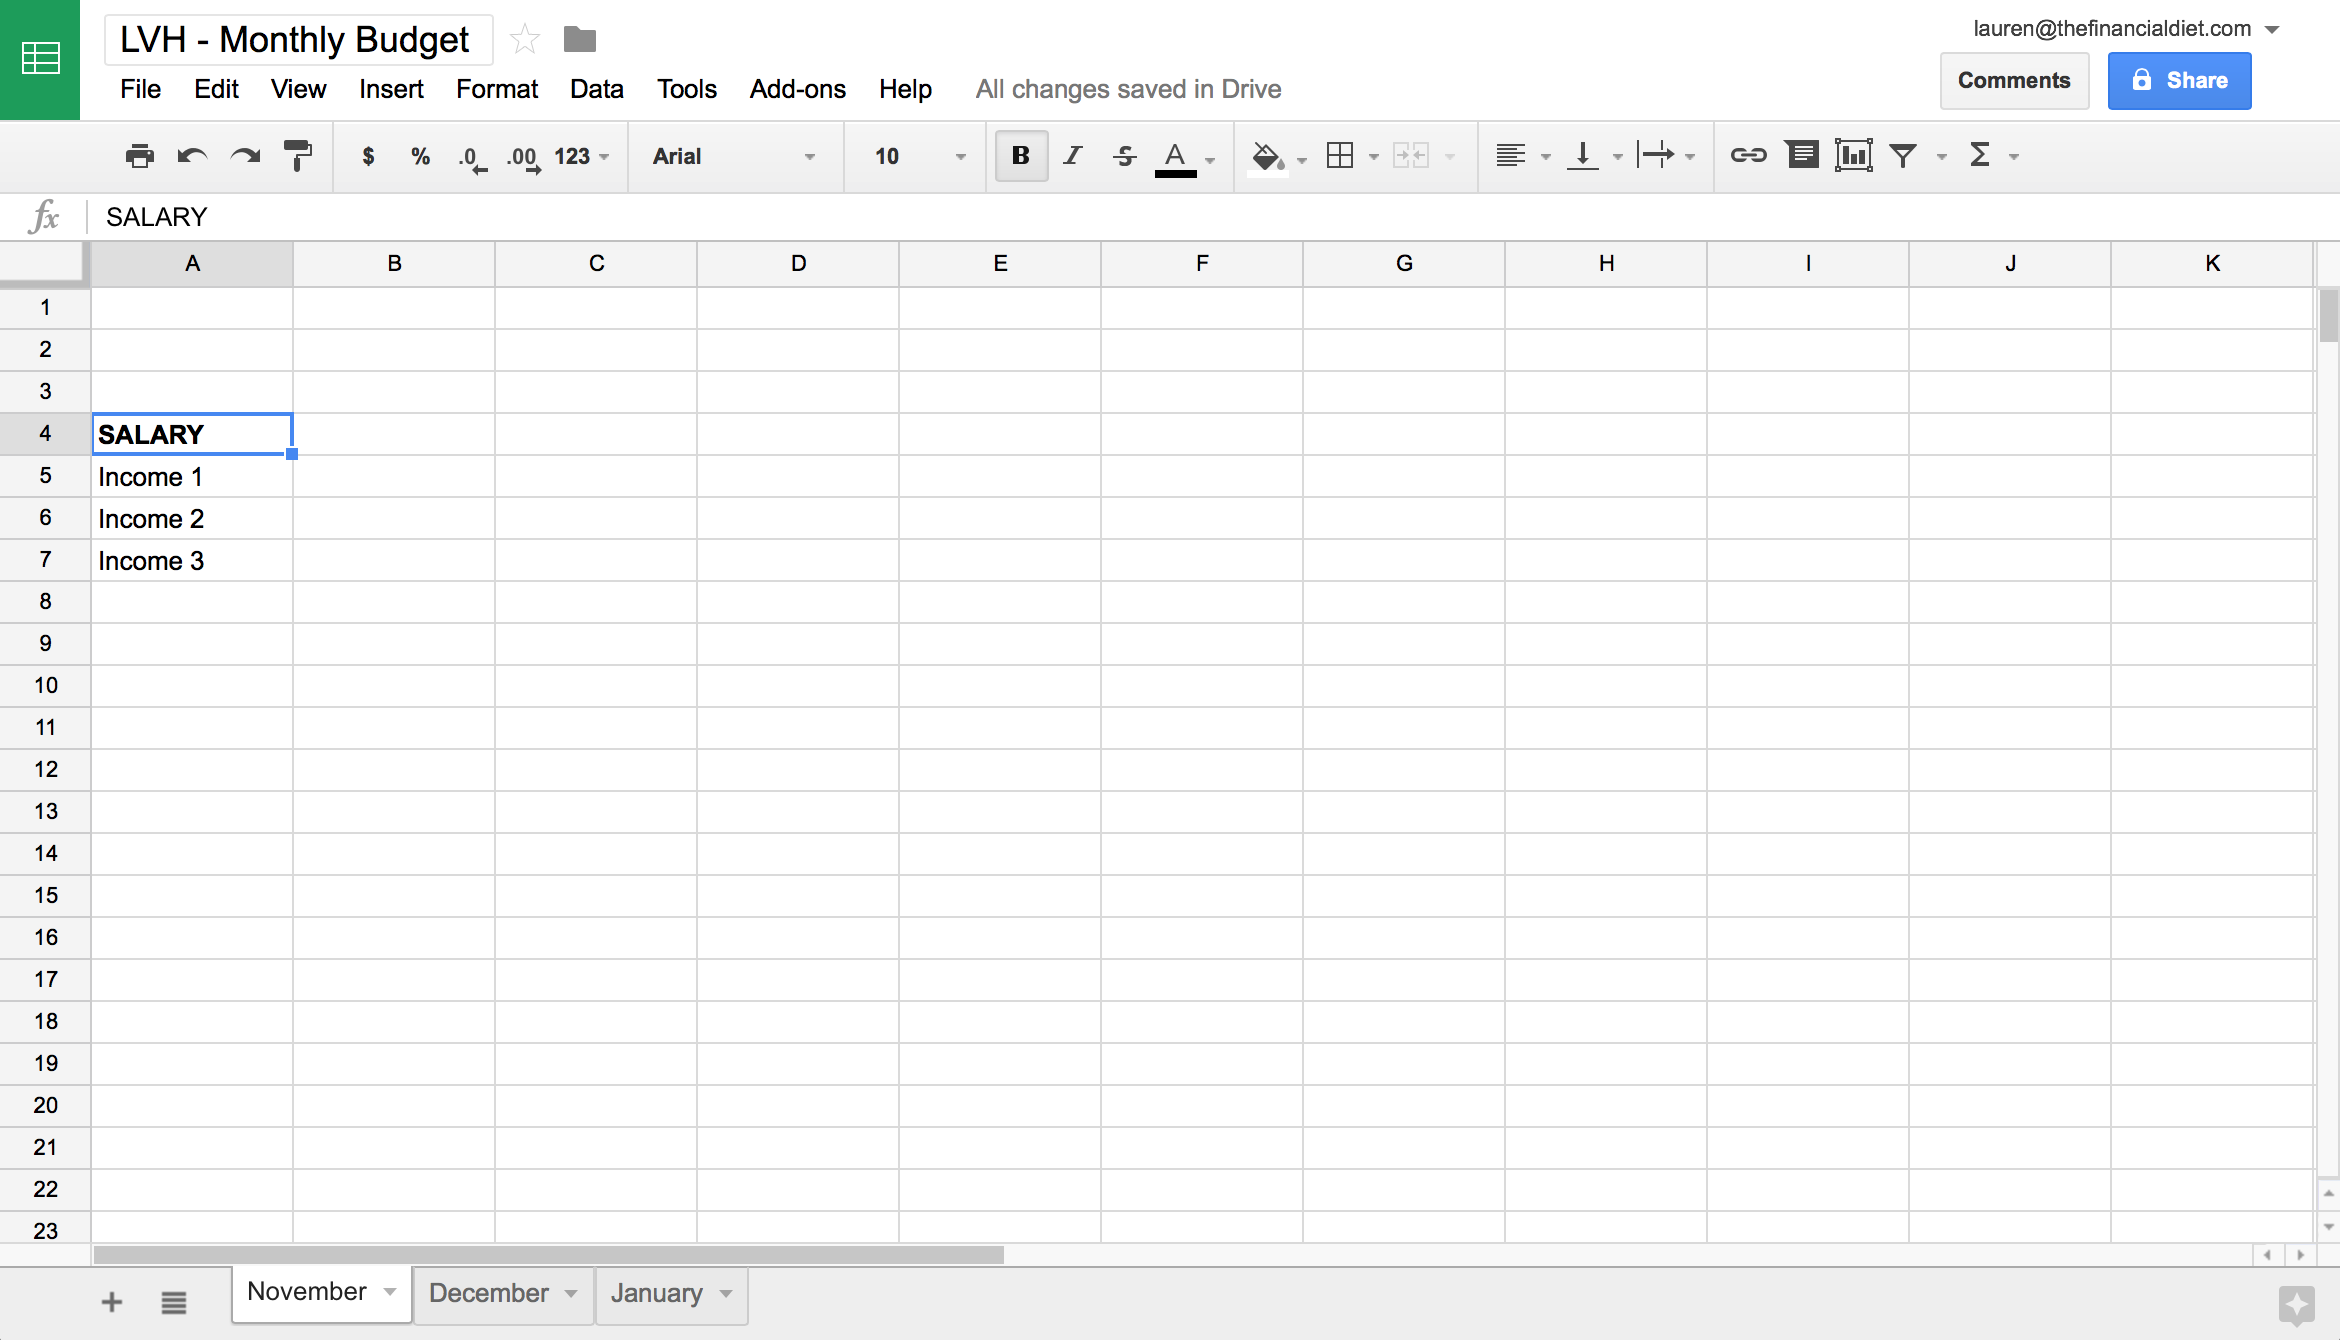
STEP 2: Create a column, label it “Income,” and list out all your sources of income. If you’re a freelancer, this section will most likely look different each month, but leave yourself enough room to add and remove items as needed.
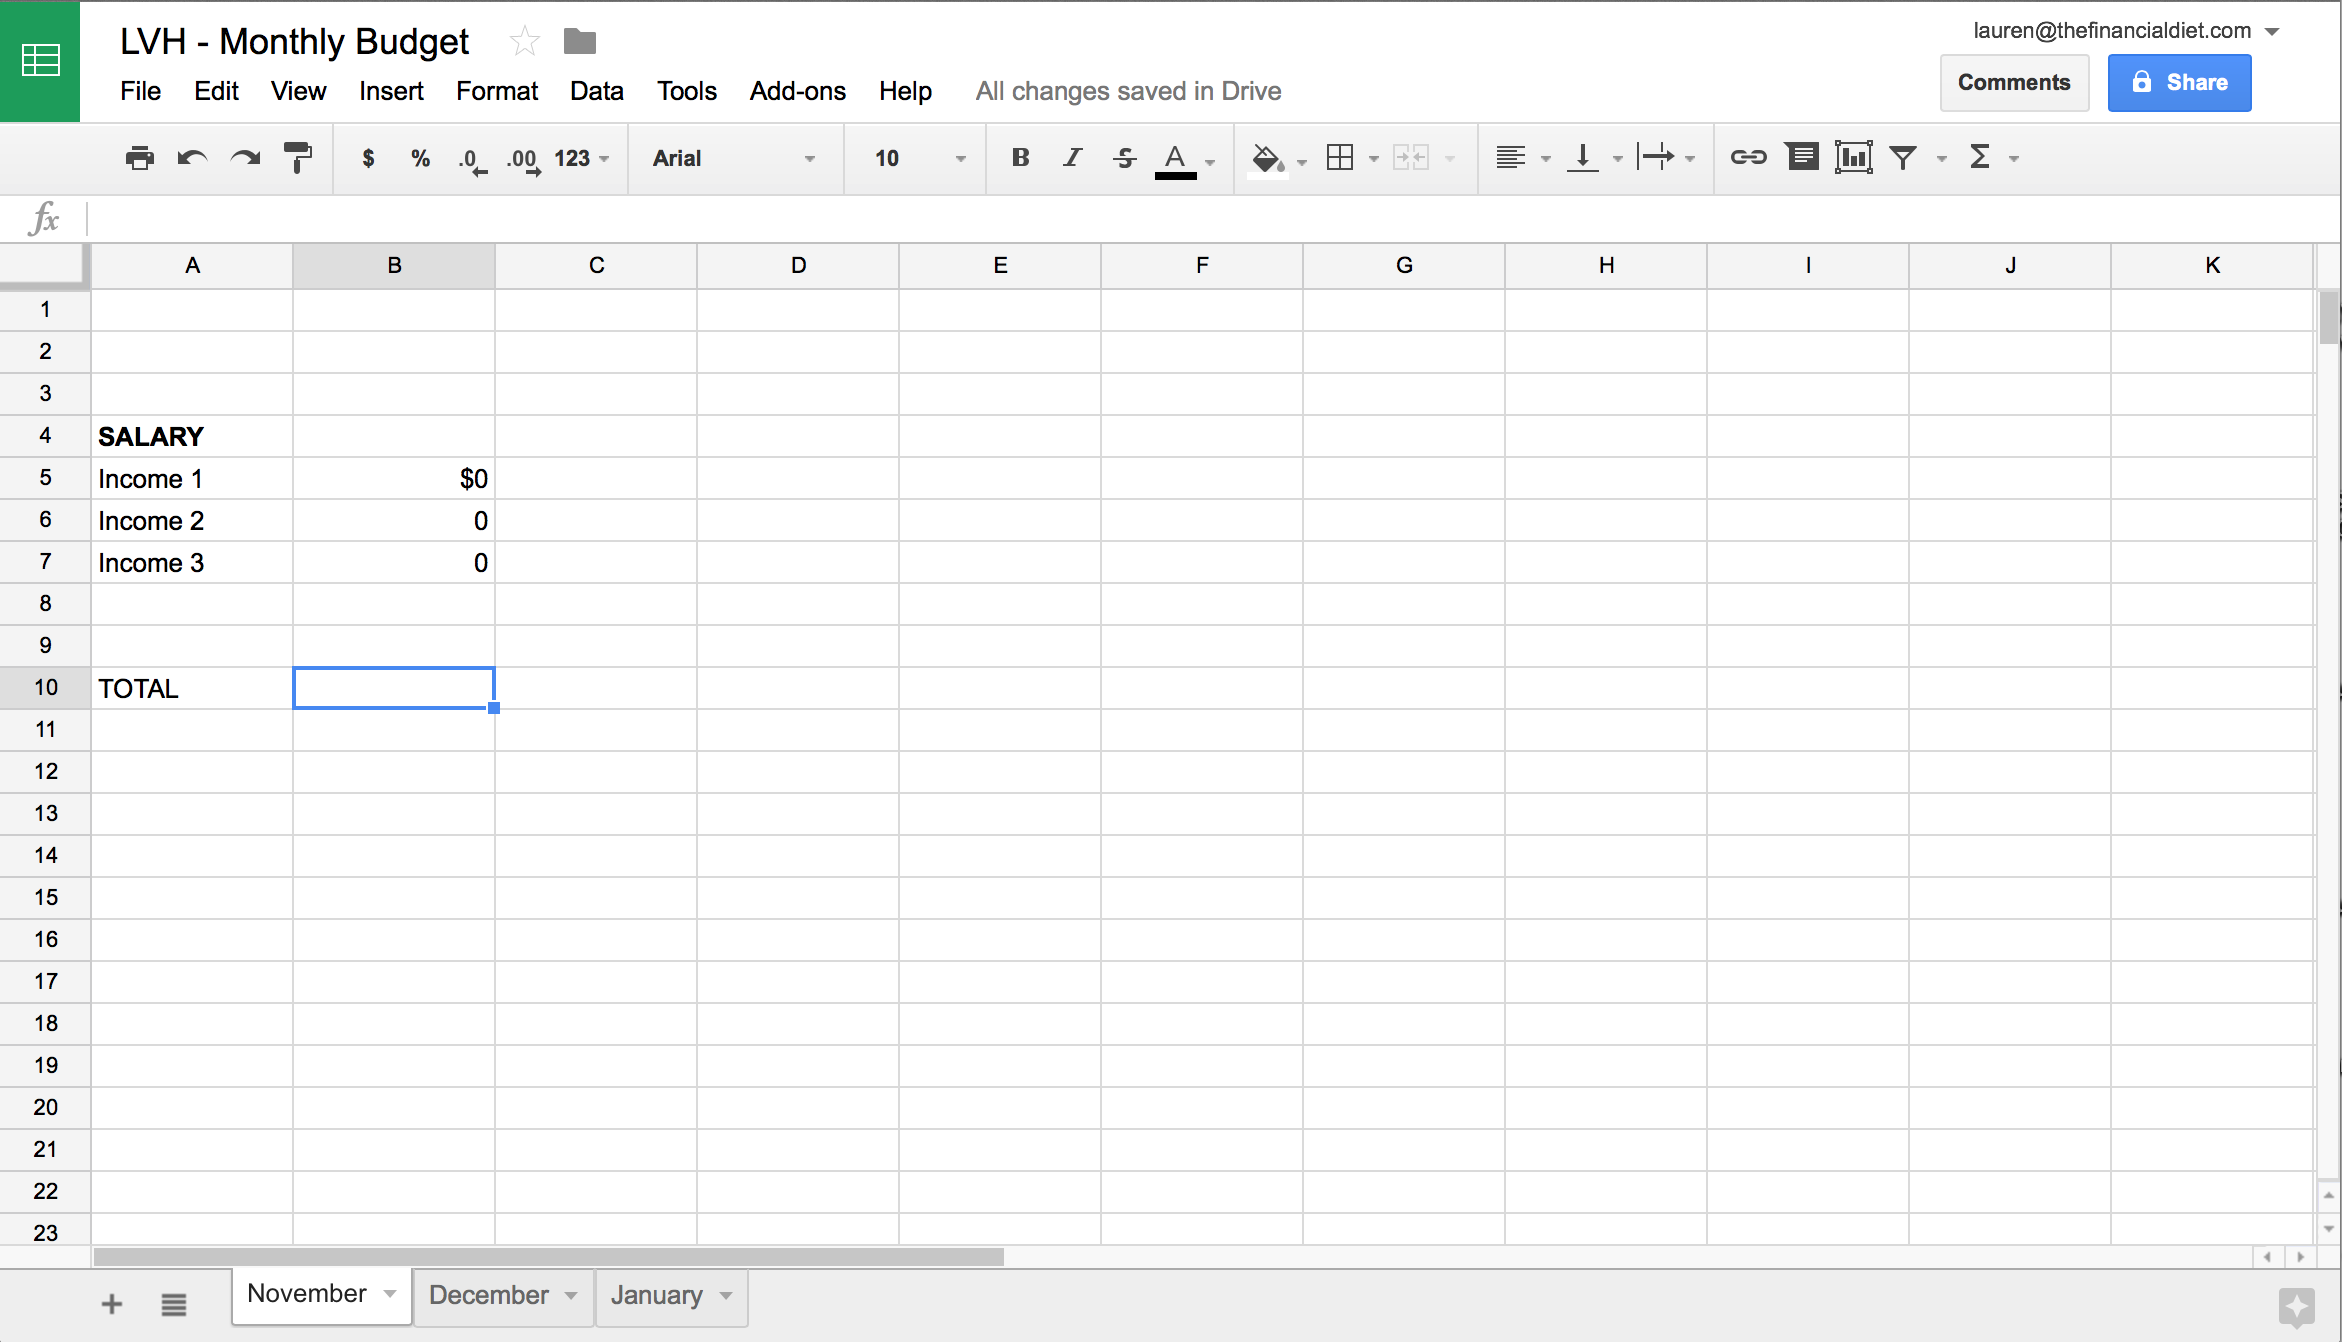
Step 3: In the column over, add the numbers that correspond to each source of income. These numbers should reflect your income after tax.

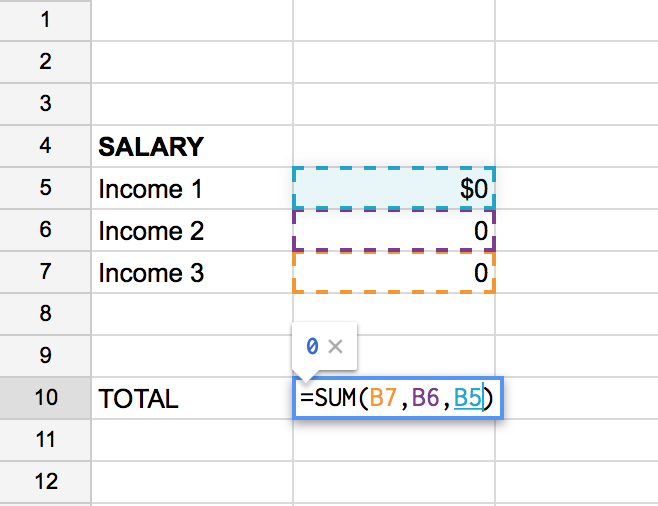
Step 4: Add a “Total” cell at the bottom so you can see what you’ve brought in that month in full (I’m using totally random numbers here for the purpose of this post).
STEP 5: Next, select the cell where you want the “Total” to appear — we’re going to create a very simple formula that will calculate the total and does the math for you. Navigate over to the “Functions” icon located on the right-hand side of your screen. It looks like a Greek symbol.
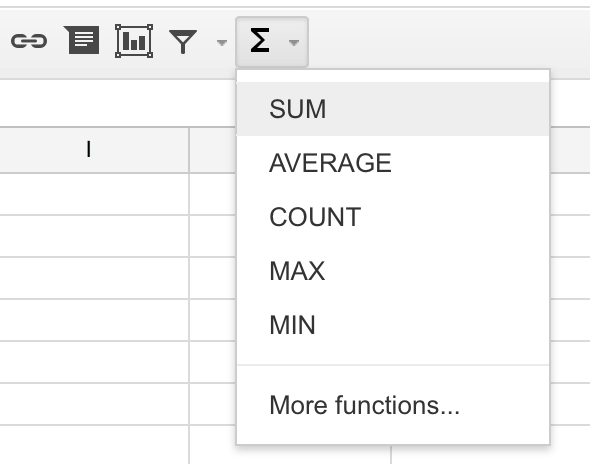
STEP 6: After you’ve selected the “Sum option” from the “Functions tab,” you’re good to go. Simply hold down the control key, and select the columns which will make up that “Total” number.
This is what it looks like with real (although completely arbitrary) numbers.
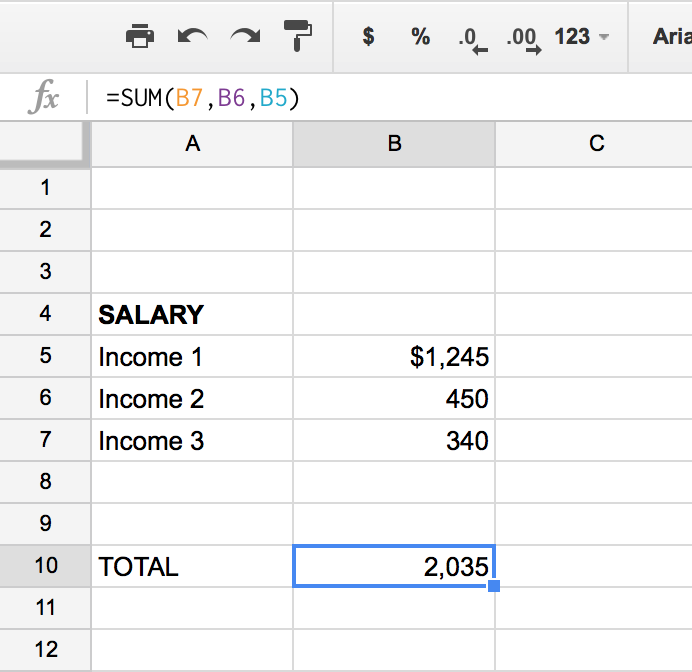
It works, YAY!
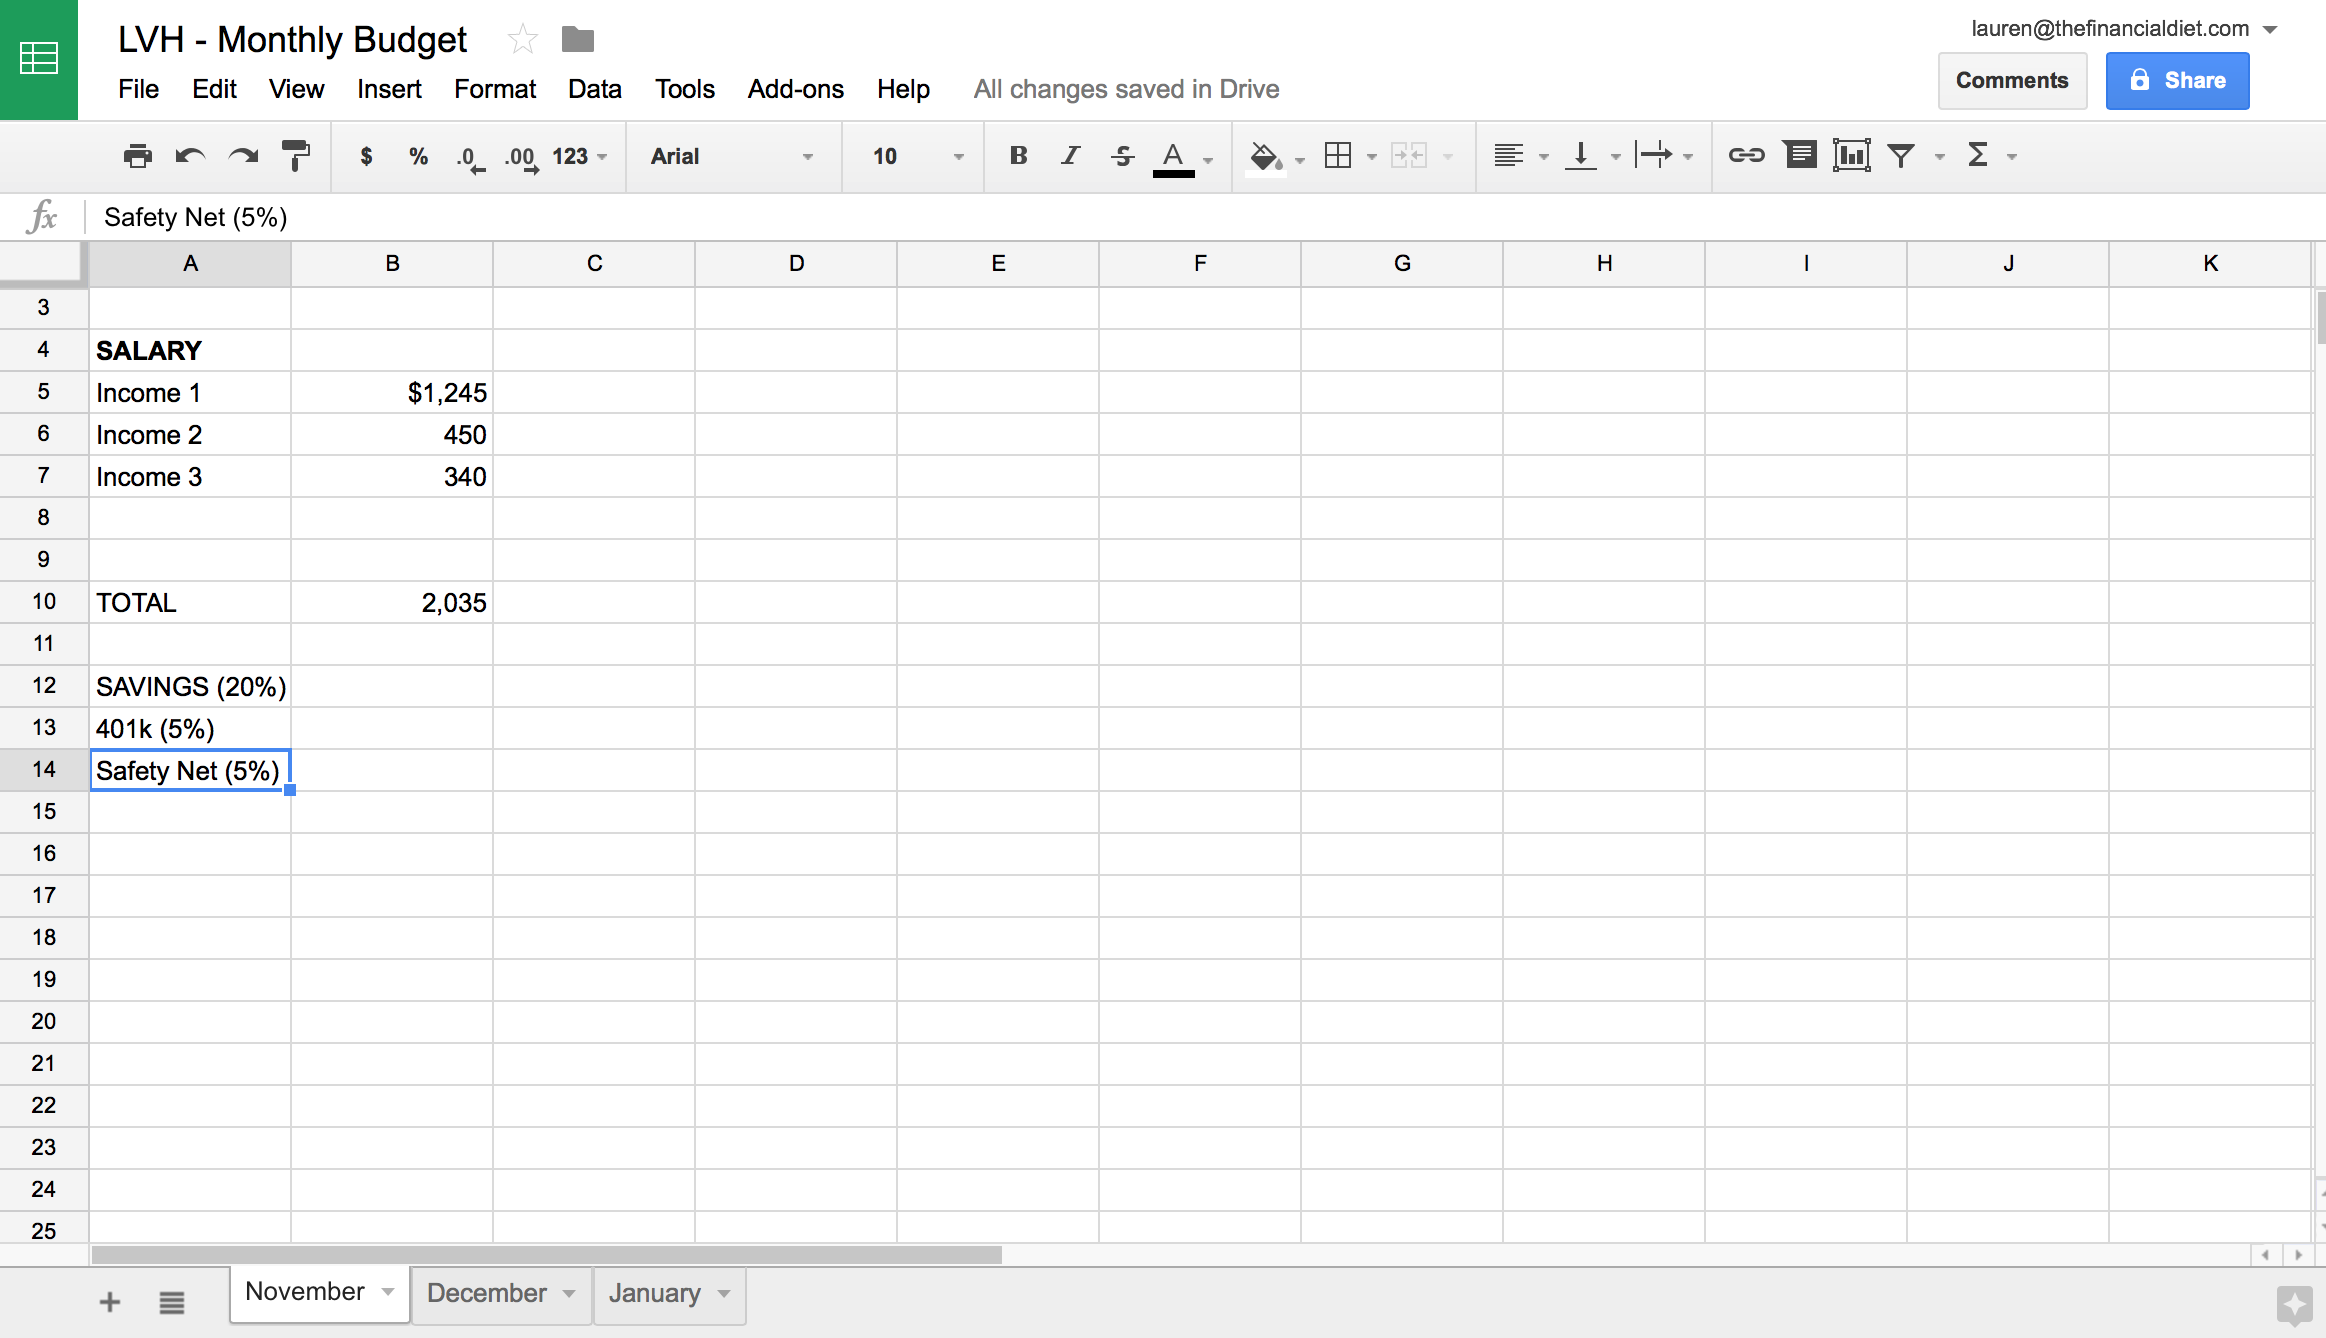
STEP 7: Now, we can move onto the automatic savings section of your monthly budget. For example, organizing how much you portion out of each paycheck for savings, retirement savings, and your safety net. These percentages will vary for everyone depending on what their goals are and how aggressively they save for retirement. To illustrate this step for our purposes today, I set 15% of the monthly income to be portioned directly into savings, 5% for 401k, and another 5% for the safety net.
STEP 7: You can calculate these percentage out of your gross monthly income very easily. This makes it easy to see how much you need to put away. Simply click on the cell where you want the total to appear, and hit the “=” sign (all formulas start with a “=”). Next, select your gross income total, hit the “*” key (which stands for multiply, and put in the percentage you’re multiplying it by. In this this case it’s 20%, so you’d multiple by .20 to arrive at that number. Simple math! This formula will display the total amount of money you should put away to meet this savings goal. Check out the five step image below of how I navigated through this portion of the budget.
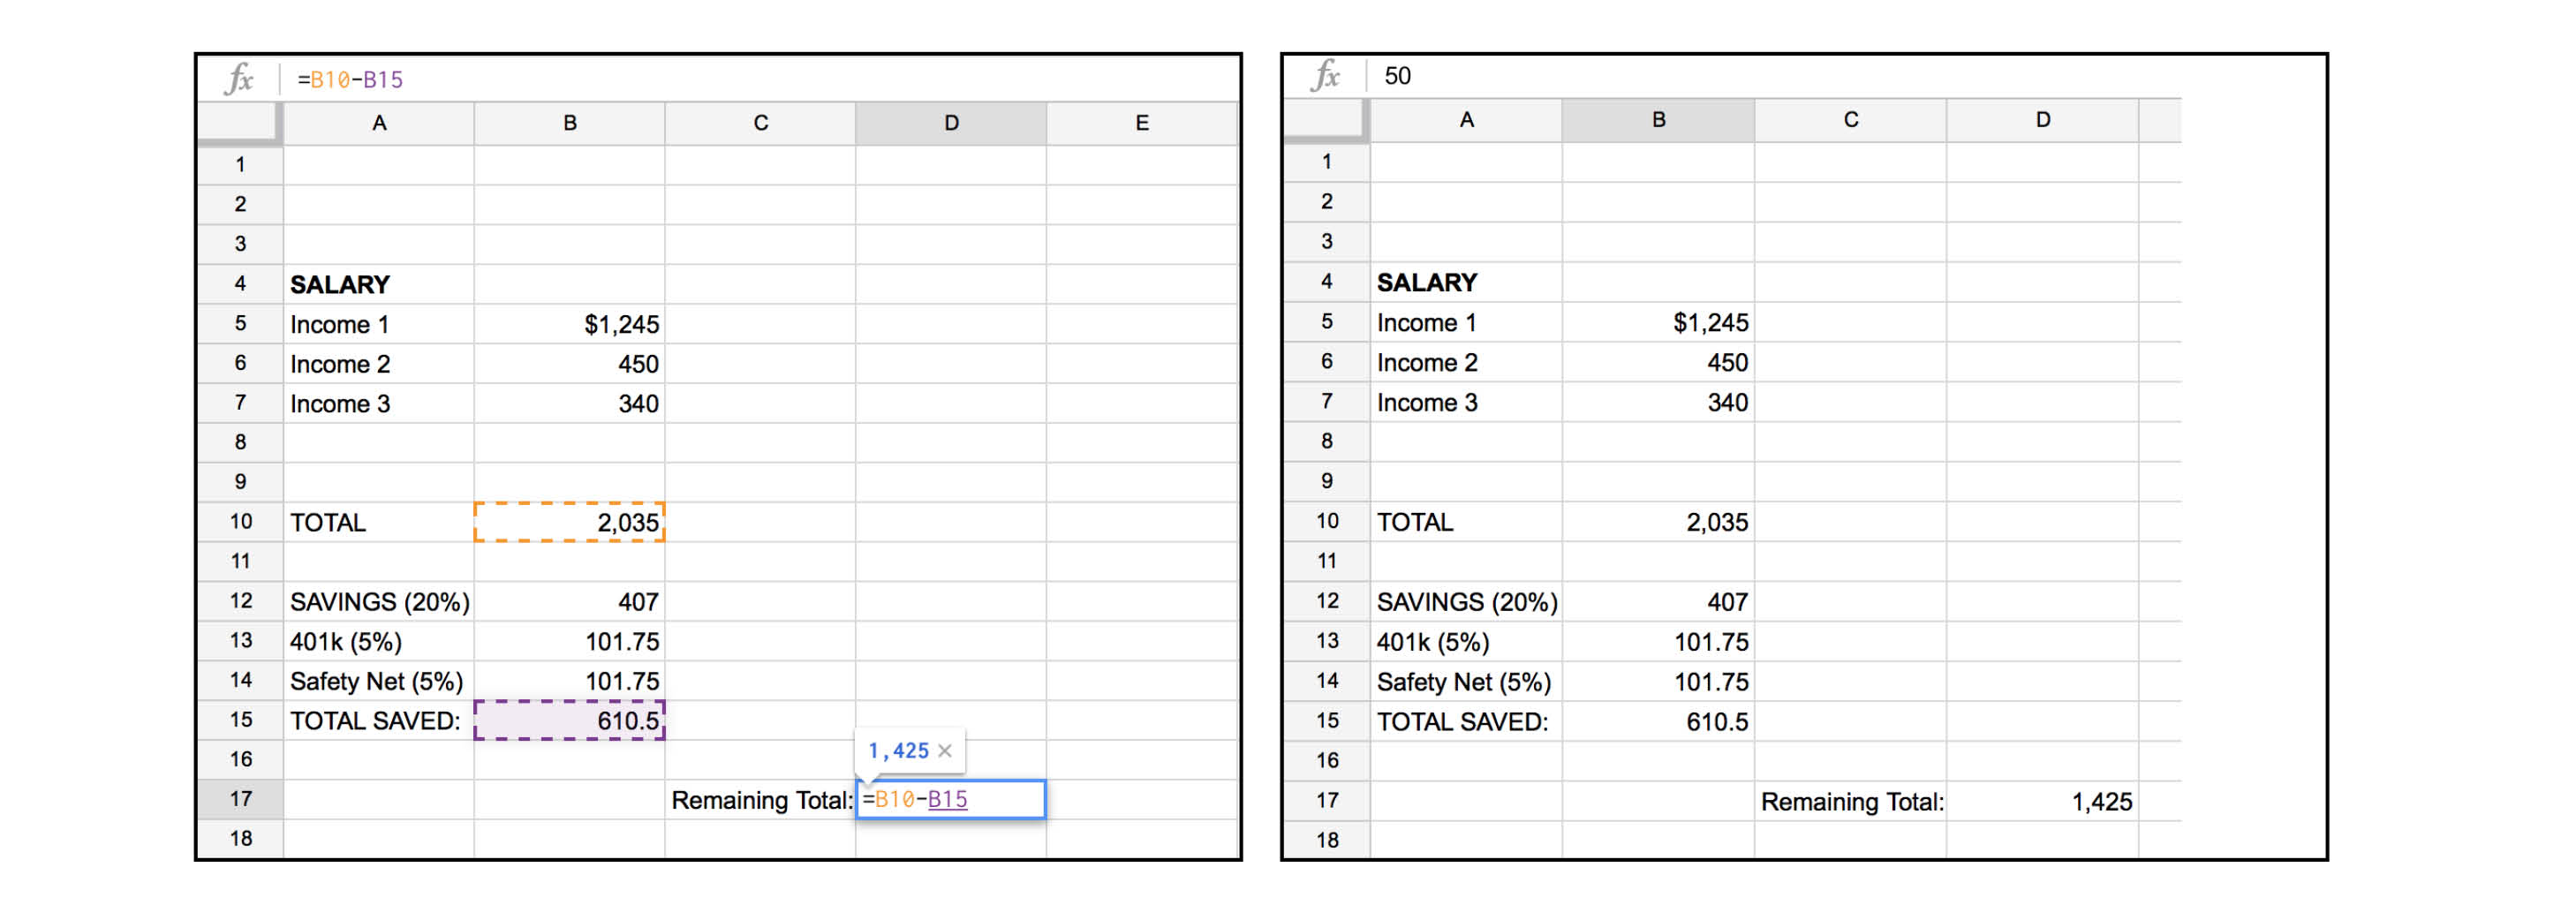
 Go ahead and extrapolate this out for every category of automated savings you want/need. When you’ve finished that, go ahead and create another “Total” cell where you can see what those numbers add up to by using the same addition formula shown in Step 6. See below for reference of what it should look like.

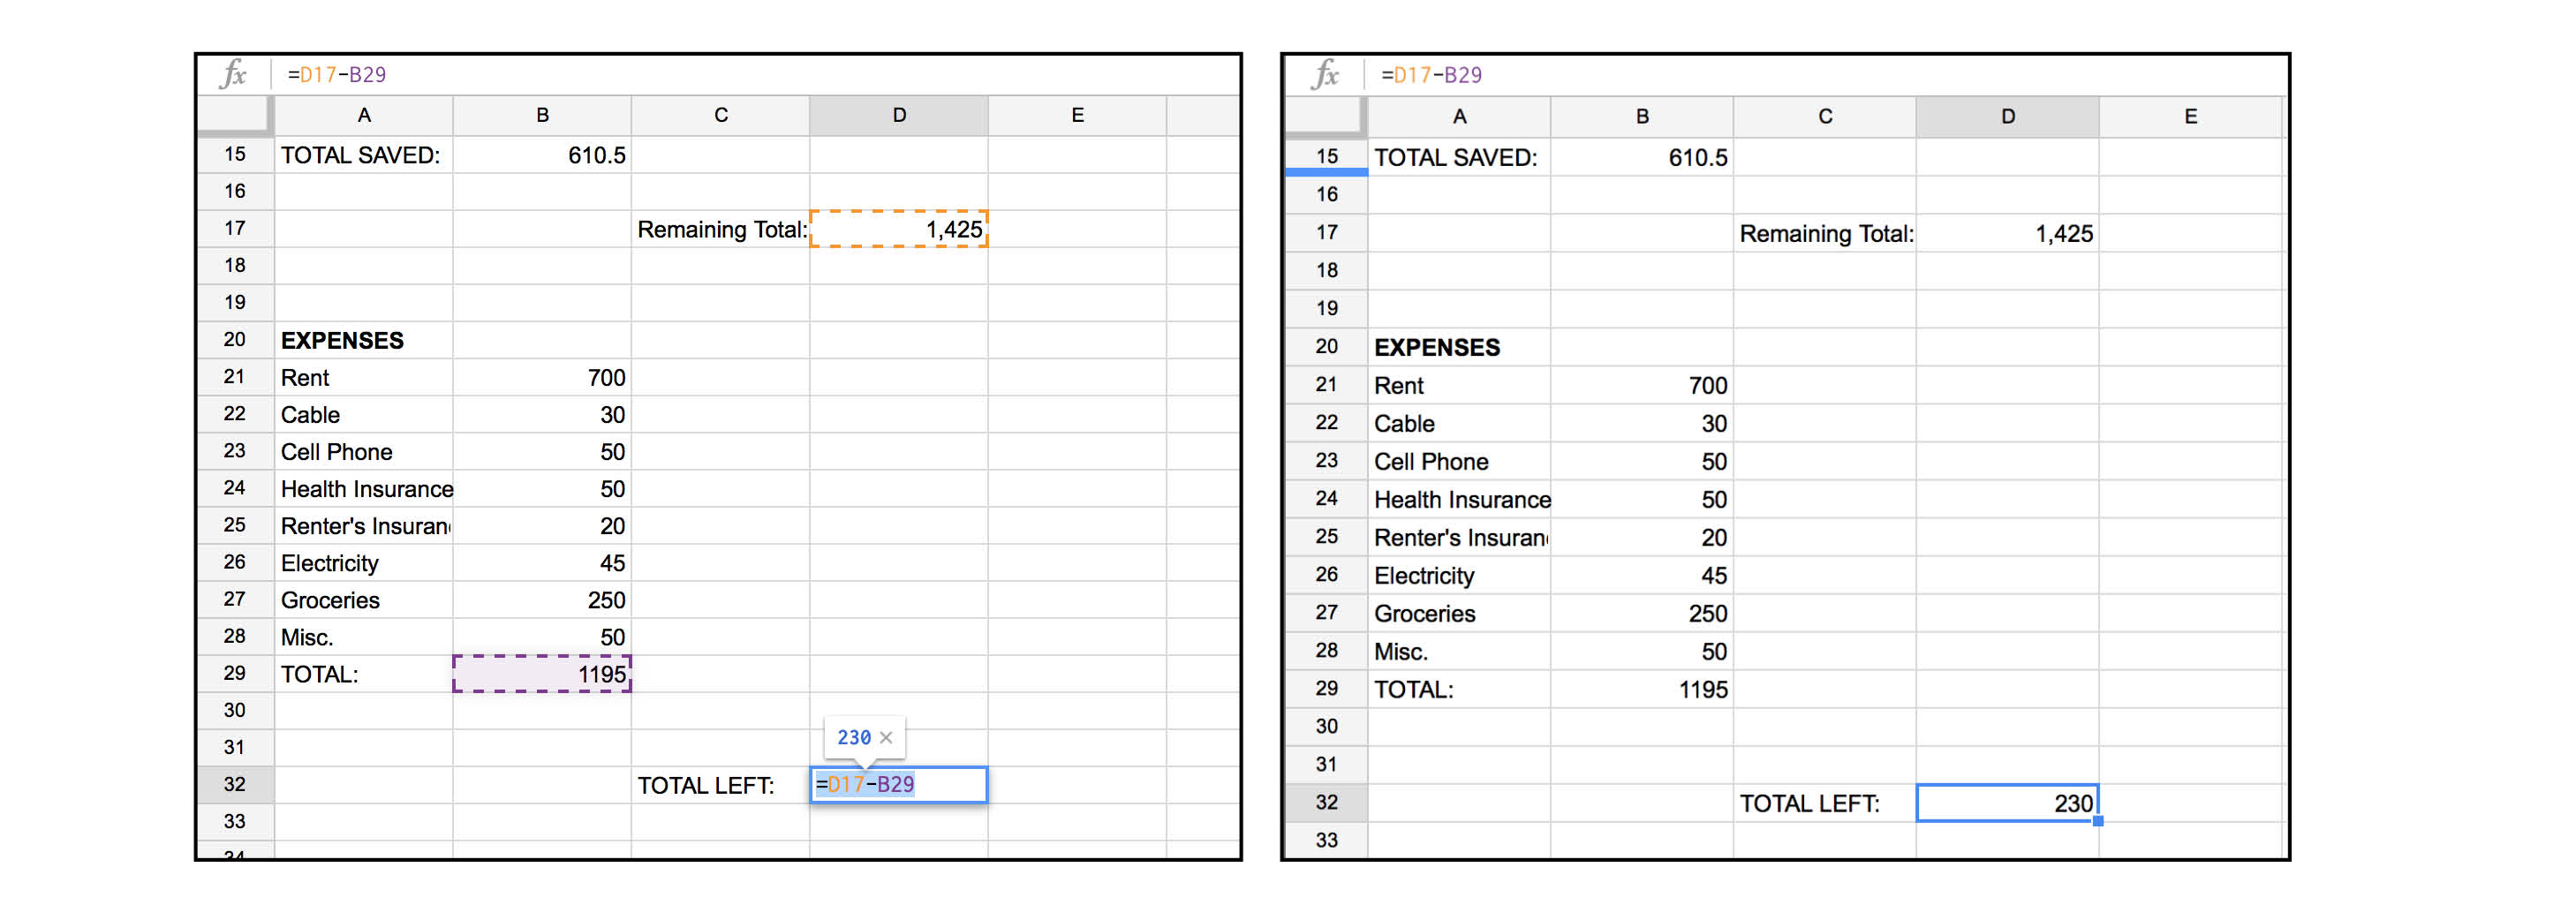
STEP 8: We’re nearly done now! The next step is to subtract your take-home pay from what you’ve portioned out for savings. To do this, create a new cell called “Remaining Total.” This formula is very easy to create. Just hit the equal sign symbol (=), select your first “total,” hit the minus symbol (-), and then select the “total saved” number to see what you have left in your budget.
 STEP 9: Finally, it’s time to calculate all your months expenditures — everything from rent, to groceries, to utilities, dog food, cell phone bill, shopping, etc. It’s great to use your credit card/debit card statements as a reference, and go through old receipts. Remember, I’m using completely random numbers here.
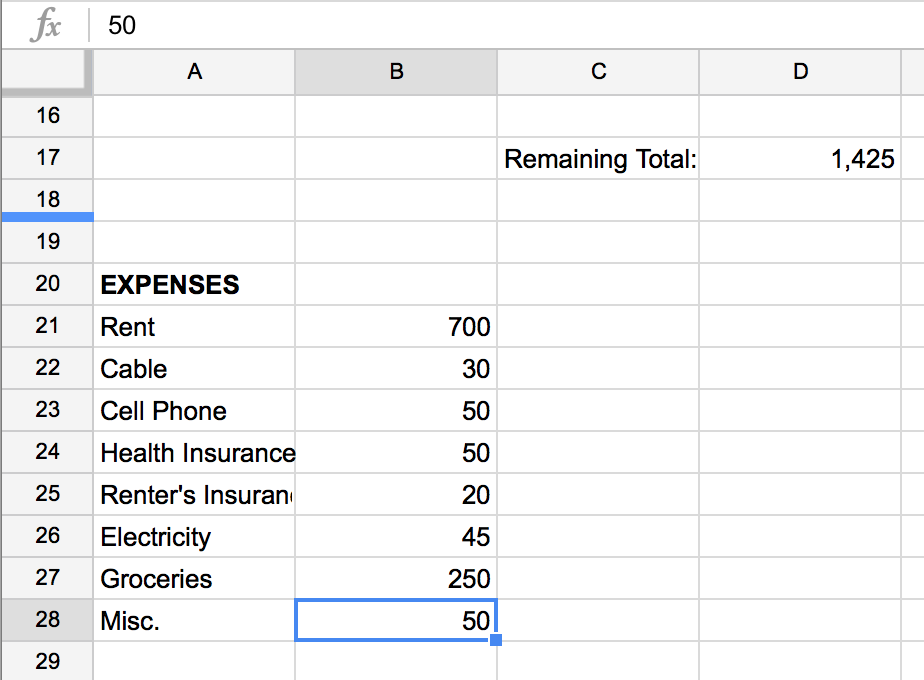
Again, use the “Sum” function to see the total of all those monthly expenses.

STEP 10: The final step is to simply calculate the leftover money that remains in your budget. You can do this by creating a final cell labeled “Surplus.” Hit the equal sign and select the second total and the total expenses. This will show you the money you have leftover in your budget for that month.
Don’t let all these photos and steps fool you, I am NO Exel wizard that is for sure, and anyone can set up a simply budget such as this one, to see where their money is going. And there you have it! An easy, step-by-step guide to create your own monthly budget using Excel.
Image via Pexels
