The $3 Treasure Hunt: Making Your Own Fairy-Tale Makeup Table
For the 14th week of the $3 treasure hunt, I decided to use supplies that can be found around the house, and inexpensive cleaning products, to revamp my makeup table. If you’re looking to brighten a corner of your room, or are trying to find somewhere to put the makeup supplies you’ve jammed into a drawer and forgotten about, DIY-ing your makeup table is a worthwhile activity. (I spent my Saturday afternoon doing this, and I have to say the combination of DIY and Netflix was honestly a lot of fun.) And, as an added benefit, everything you’ll need to buy is under $3. Making my space pretty is something I always assume is just beyond my reach. I don’t have a lot of space in my room (it’s roughly 10′ x 12,’ excluding the closet), so I can comfortably fit my bed, a bedside table, a sizable bureau, and absolutely nothing else. I figured I didn’t have the space, or the funds, to make myself a Fairy Princess Makeup Station.
However, using household products for under $3, and anything I could find around my house, I was able to create a nice, bright aesthetic for my makeup table (which now lives on my bureau). One of the unexplained phenomenons of adulthood, in my opinion, is that you hit a certain age and suddenly thirst after things, like having the perfect corner in your room. I’ve been following the progression of Chelsea’s thrifty makeup table for quite a while, and decided it was time to stop thirsting, and start creating. Here’s a quick look at my favorite makeup table inspo:
https://instagram.com/p/8lPlxFOm4y/?taken-by=faganchelsea
What you’ll need:
– Hot water (from the faucet is fine, it doesn’t need to be boiling)
– Distilled white vinegar ($2.99)
– Salt
– Baking soda (optional)
– An old shirt that you’re not attached to (to make into a rag)
Next, search your house for anything that is quality glass, has the potential to look clean and light, or fits into your own personal aesthetic tastes. If you don’t have anything, there are a few things you can pick up at the store for under $3.
Here’s what I found in my apartment:
– Mason jar glasses (I bought a set of four on clearance for $4 at T.J. Maxx)
– A wine glass shaped candle holder (which I got at Yankee Candle Co. on sale for $2.99)
– A small canister of sprinkles ($1.99)
– Takeout ramekins (which once held salsa — free)
– A small Trader Joe’s salt shaker (99 cents)
Other things I’d recommend using:
– An empty jar of jam or sauce (my marinara sauce is $2.99 at Trader Joe’s)
– Talenti gelato tub — as a rare but worthwhile splurge (I first found repurposed Talenti tubs on Chelsea’s Instagram, and will eat a pint in the name of DIY any day)
– A plain wine glass
– Nice-looking alcohol bottles (or even bottles that once held cold brew, or trendy iced tea)
Once you have all of your (emptied) glass finds — I had to put my sprinkles into a sandwich bag so I could use the canister — make your water mixture. Add warm water and salt to a big bowl, and put all of your finds in. I let them soak for about 45 minutes, and then was able to easily peel off the wrappings, price tags, etc. The only thing I didn’t soak in warm water was the plastic ramekins, which I hand washed.
Cut up your old t-shirt and make a rag. You have two options: You can dip the rag in your warm salt water solution, and add a bit of vinegar to the rag, and polish your items that way. Or you can mix baking soda with warm water and make a paste, and shine your items with a rag. After you’ve ~polished~, rinse the glass items thoroughly and let them dry. (If you want more information about how to clean and shine to perfection, I got my inspiration from this guide to inexpensive, green cleaning.)
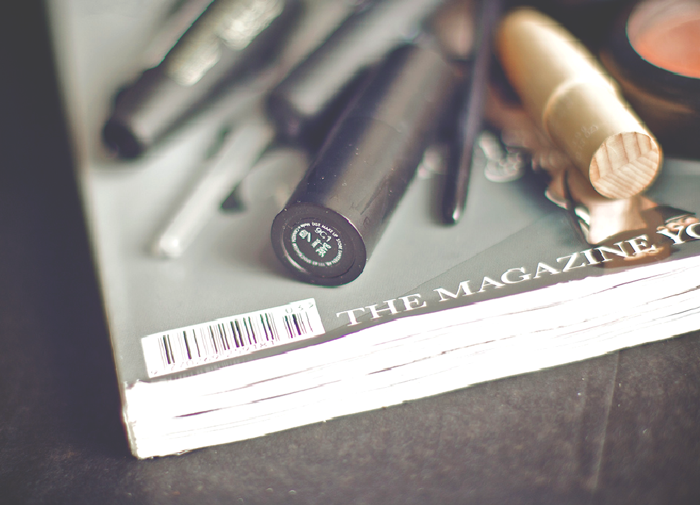
Next, gather all of your makeup supplies.
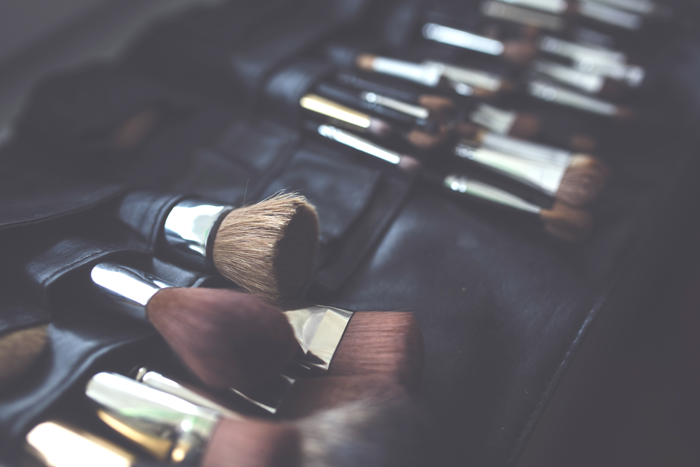
Image via Pexels
Decide which ones you want to display. For me, I considered which of my products I use often, and also gathered the products I should be using, but always forget to (i.e. makeup remover).
Find a candle, or consider buying one of the candles we found on the Walgreens treasure hunt for $2.29.
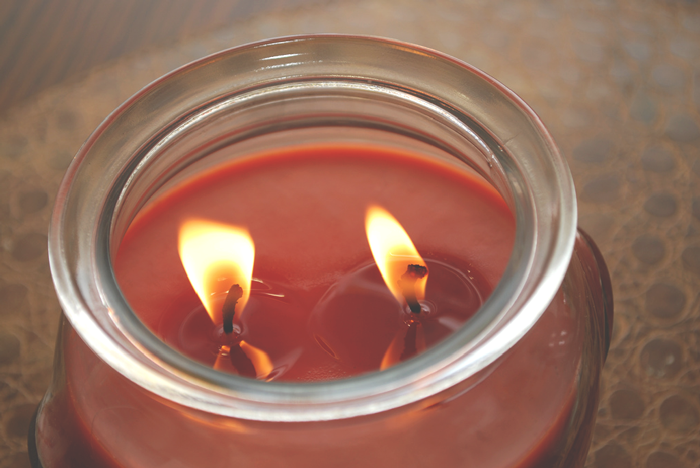
Image via Flickr
After I dried out all of my glass finds, I arranged them using a pattern I like (and one that fit on my bureau). I put my cotton rounds (for removing makeup and nail polish) in the takeout ramekin, the q-tips in the old candle holder, makeup application squares in a mason jar, and emery boards and a makeup brush in the salt shaker. I used the bigger mason jar for miscellaneous makeup (mascara, eyeliner, lipsticks, and my trusty Tide To Go pen). And then, finally, I arranged my favorite products around the perimeter. There are still a few things I’m missing (like a makeup mirror, and a place to put the sprinkles canister), but I’m very pleased with the result.
Here’s my DIY finished product:
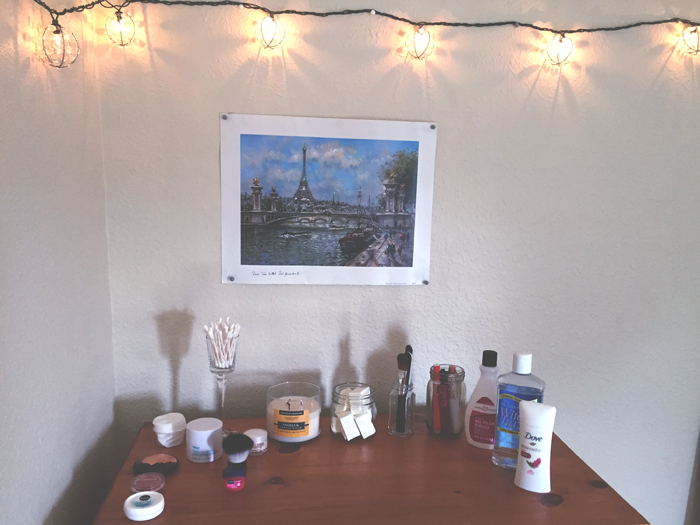
About half of the products on my bureau are other $3 treasure hunt finds, including the fancy makeup brush, the Nivea face cream, the cotton rounds, and the mascara and eyeliner that are tucked into the mason jar. Of course everyone’s finished product will look different, and the most important thing is that you end up with a small corner of your room that looks brighter than it did just a few hours earlier.
Main Image via Flickr