
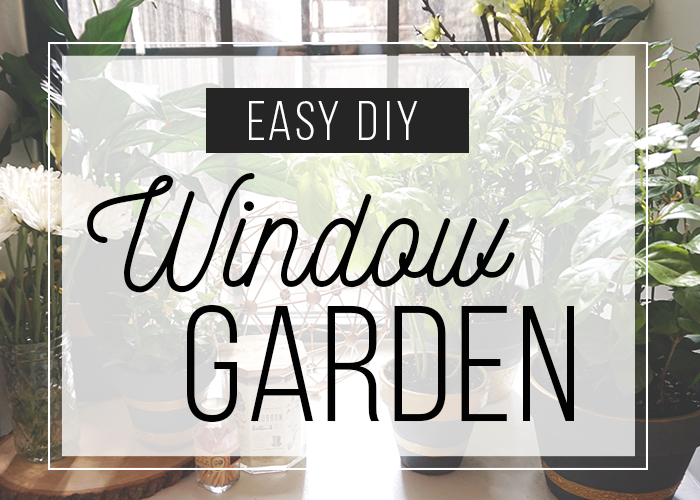
How To Make Any Dark Corner Instantly Happier With A DIY Garden
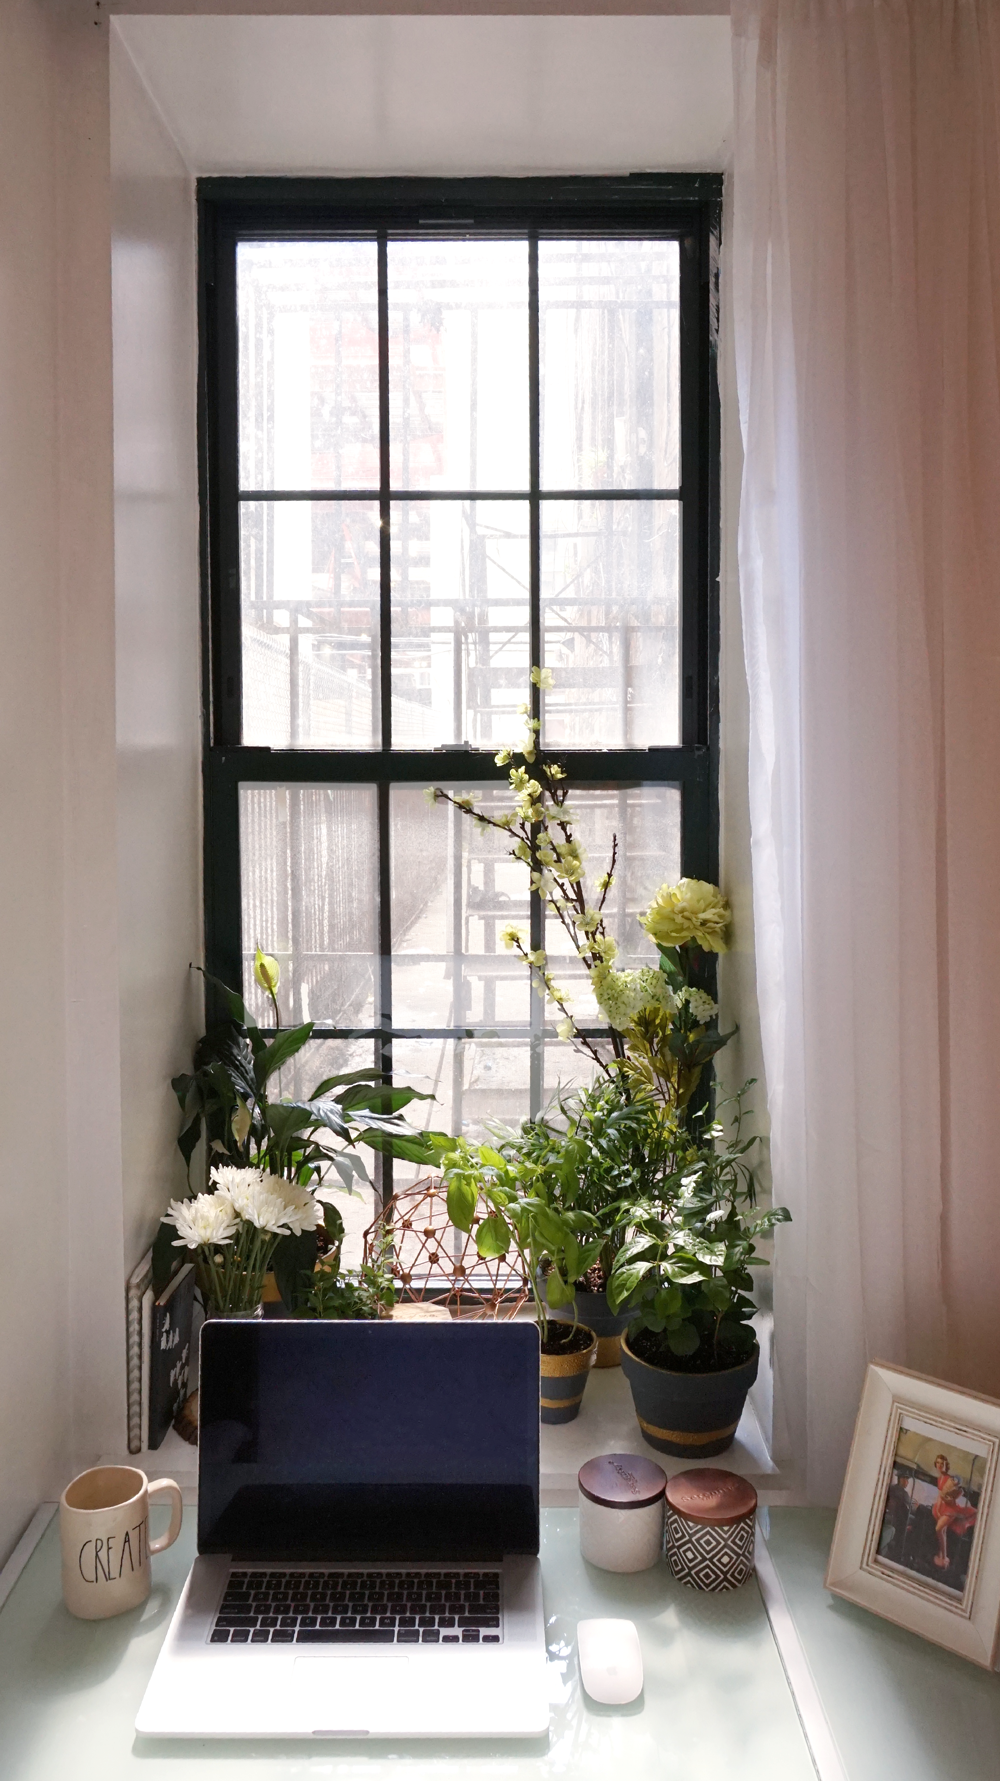
It’s hard to believe we’ve been in the TFD office for just about a year now. When Chelsea and I first saw the space, we knew it had instant potential to be something amazing with a little elbow grease and a fresh coat of paint. Since we first decorated the space last year, we’ve made many more improvements here and there — my favorite one being the addition of our very own window garden. The windowsill in the corner by where my desk sits is the ideal nook to house plants and other small office essentials. Since the window looks out onto the alley behind the building, we get plenty of sunlight streaming in during the day. However, the concrete just outside the window makes it feel a bit cold and slightly dark, so we wanted to add in some greenery in whatever way we could.
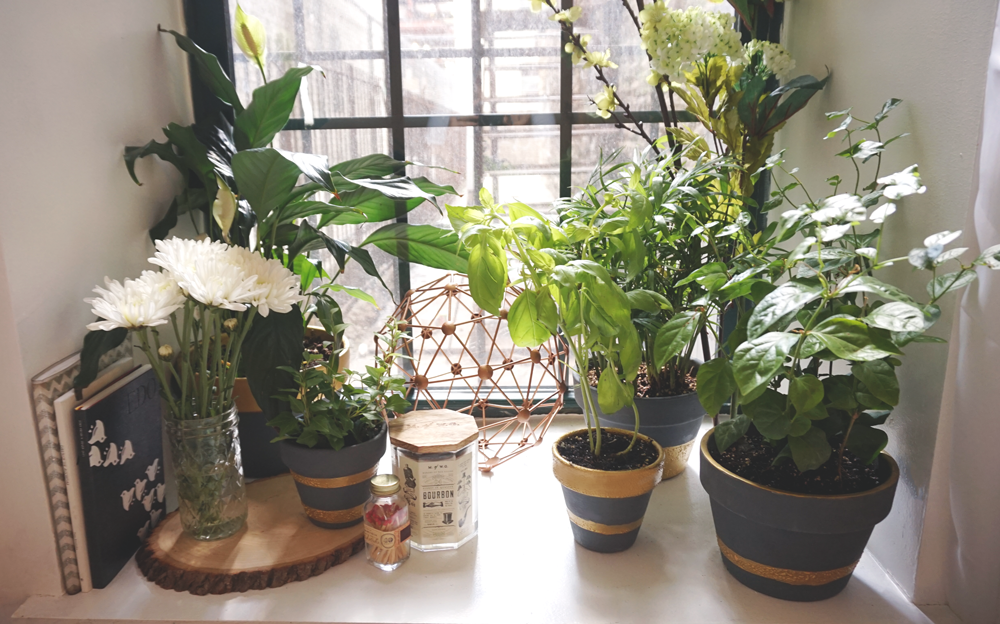
We decided to take matters into our own hands. We did some research into how we could liven up the dark space, and we sought out inspiration for a #chic, easy, and of course, budget-friendly solution. The garden was clearly the best choice — we find that not only does it totally liven up and brighten the space (the office is a large floor with a big office space, corridor, and bathroom, yet only one window), but the garden also makes something as practical and clean as an office feel warm and homey. If you want a quick fix for a dull room, we definitely recommend a DIY window garden — it will make the space feel instantly happy (and colorful!). Here are some photos of how our potted-window garden ended up turning out:
To get this look nailed down, we had to focus on four things to really help play up the space and transform it from dark to ~light~.


PLANTS:
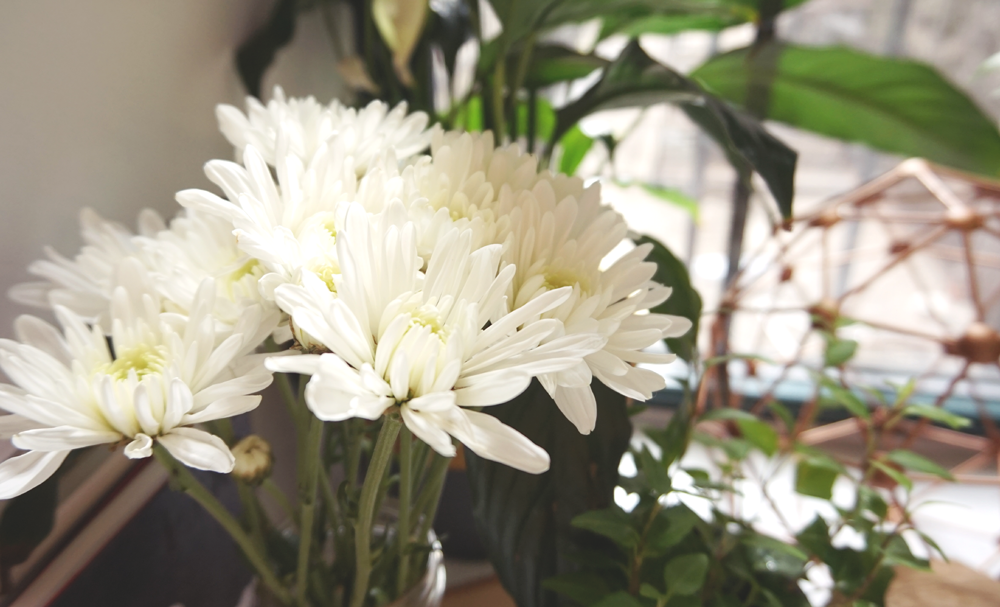
Choosing the right plants is the most important aspect of mapping out any beautiful and sucessful window garden. (I loved reading up on tips for choosing houseplants and caring for them here, here, and here.) For Chelsea and I, the only rule we had was that we were going to try and stay away from the more delicate variety, read: herbs. If you weren’t already aware, herbs are incredibly easy to kill. CONFESSION: we killed the first basil plant we got for this post within a week of buying it, and the second one was limping along for a few days. (It recovered well after a day last week where we walked downstairs and saw it limped over pathetically.) In my opinion, you’re shooting yourself in the foot if you purchase ALL herbs for you home window garden (unless you have a much greener thumb than I, and in that case, I applaud you). Herbs do look pretty, yes, but they aren’t a wise move unless you use them for cooking and are prepared to care for them. We chose to incorporate a mix of heartier plants — some short and some tall — and only one herb. We chose basil because it not only smells great, but it’s edible and would be a worthy addition to a summer cocktail if we chose to use it (we have an office bar cart now!).
POTS:
The second part of any beautiful DIY-window garden is selecting the containers your plants will go in. For Chelsea and I, this decision was two-fold. We knew that we wanted to be able to rearrange our pots as we saw fit, and not be constricted to a larger box that all the plants shared. We also knew that we didn’t want to stick with the default terra-cotta pots that you simple buy from places like Home Depot — we want them to feel fresh, elegant, and stylish. That would mean customizing whatever container we put the plants in.
There are a few useful articles that talk about choosing the right container for your house plants. (Honestly, I was shocked at the degree of detail provided for this seemingly insignificant choice.) Drainage, move-ability to sunlight, and size are all big things to consider. We also didn’t want our garden to feel too uniform, so we chose a mix of smaller and bigger pots to provide some depth and visual interest.
PAINT:
Decorating the pots was the fun part! Of course, this task prompted hours of Pinteresting to find chic painted pot designs that we could draw inspiration from. Seeing styles like dip-dyed bottoms, ombre faded pink, polka dots, stripes, and elaborate hand-drawn patterns, we felt a little overwhelmed. In the end, we painted the pots a beautiful dark charcoal gray color (which actually matches the coffee table we recently DIY’d in the office). We picked up this paint from Michael’s:
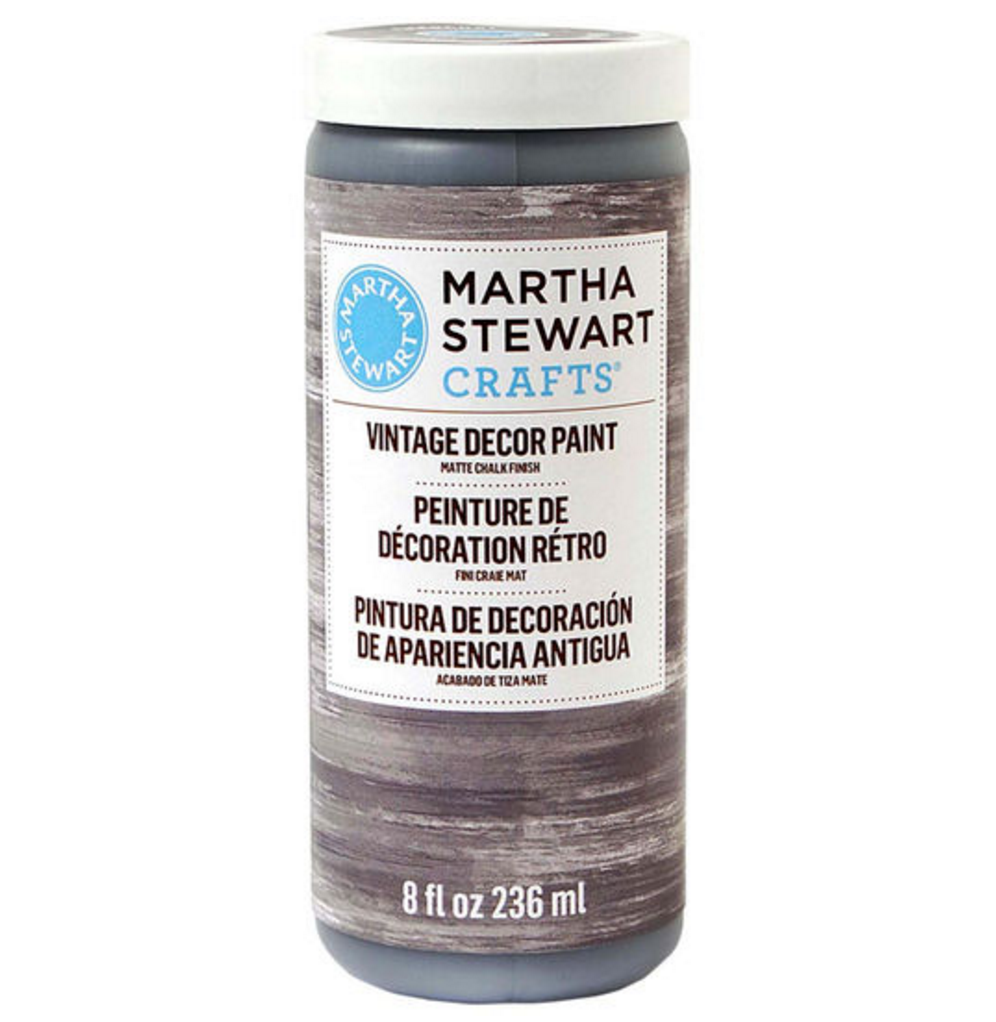
We thought that this would provide a nice contrast to the windowsill itself, which was painted bright white, and it totally did! Since our main concern was brightening up the window space, I was hesitant at first to paint the pots a darker color. However, it looks beautiful against the bright sunlight that comes streaming through and really warms up the overall look of the nook in a nice way. But we didn’t stop there. We used tape to add stripes of different widths that we painted in with a beautiful gold metallic paint. This provides further brightness and a teeny bit of shimmer when the sun hits it. Personally, I think the color combo we chose makes the pots feel elegant, stylish, and still very fun. We were really happy with the way they came out, and managed to paint the stripes on fairly easy using this guide.
KNICK KNACKS:
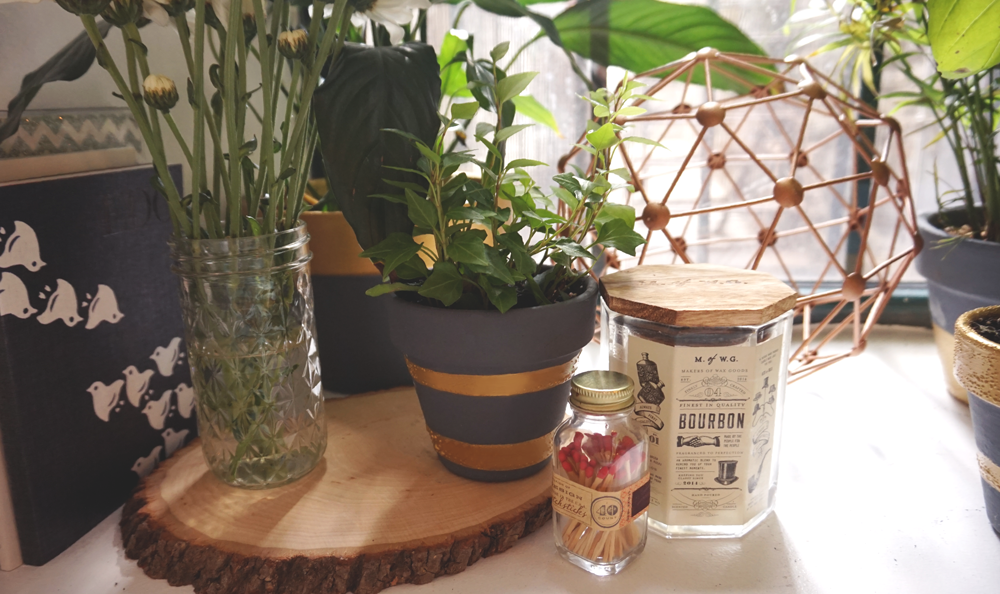
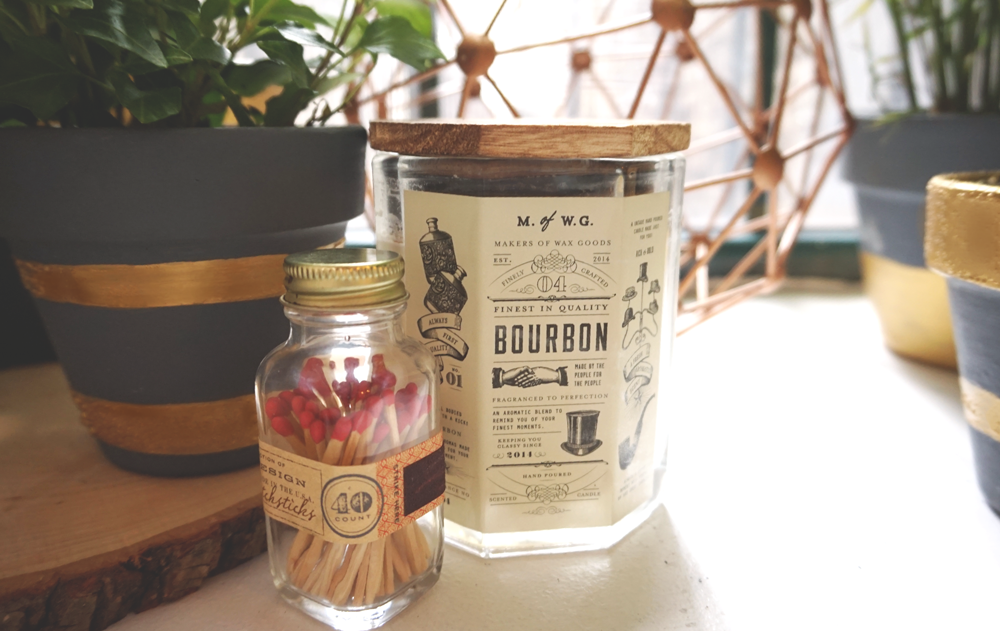
Lastly, we felt that no proper window garden is finished without a few personal touches. Full credit to Chelsea on this one though, because at first, I thought the plants alone on the sill were sufficient. However, Chelsea suggested mixing in some practical knick knacks, and it really elevated the space to its final form. We used a bright golden geometric orb in the back of the space to compliment the gold stripes we painted on. A candle + fancy matches provide a sense of ~lUxUry~ when we want the office smelling like a spa. We placed them on a thin wooden base, which makes the tiny corner feel a bit more woodsy (but far from feeling #cabinchic, which is not our style). Finally, a few books/notebooks along the left-hand side keep the space functional and house my note-taking materials for team meetings. Everything feels balanced without looking cluttered, and it’s now a beautiful AND useful little nook.
In total, the whole window garden ran us about $50. This project shows that with a little planning and a few budget-friendly items, you, too, can transform any dark or barren space into something like looks dreamy, bright, and beautiful.