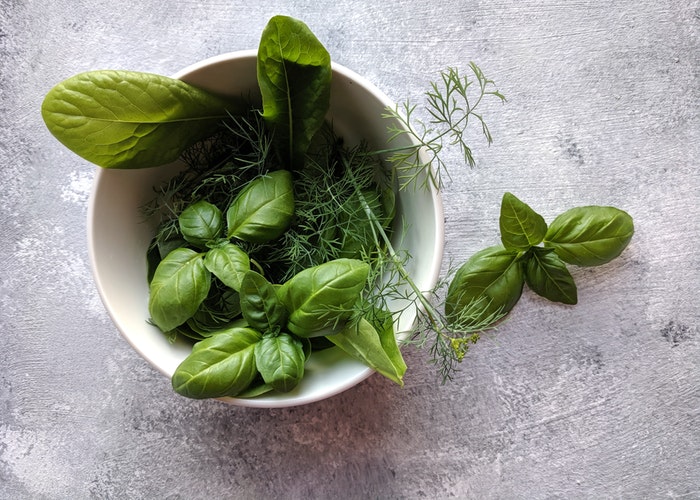
The $30 Herb Garden That Completely Transformed My Home & Cooking Life
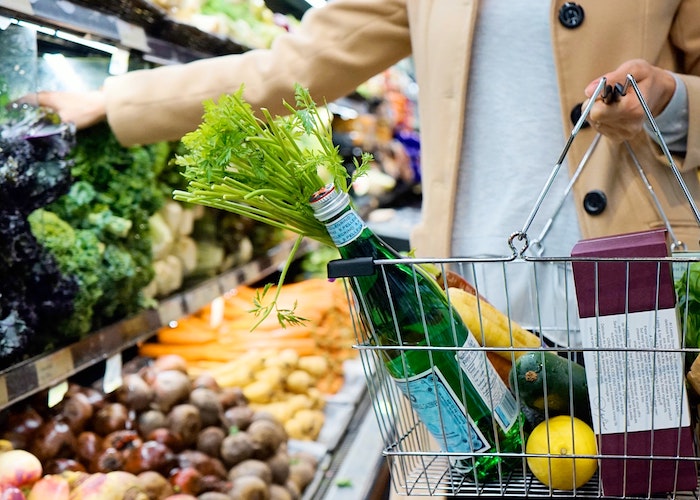
I love fresh herbs. I grew up with winter curries topped with Thai basil, water infused with min, and pasta seasoned with thyme. To this day, my favorite part of grocery shopping is the smell of fresh rosemary that drifts through the produce section. However, every time I go to pick up a punnet, the price stops me. A small handful of herbs for a whole four dollars? Nope. I’m out. I just can’t justify spending 10% of my grocery budget on a handful of herbs.
For centuries, home cooks have relished in the luxury of using fresh herbs, but these folks had whole gardens to work with, and I’ve only got a single shelf. We all know the benefits of growing herbs. It spices up your cooking, makes your kitchen pretty, and reduces your grocery bill. But if you’re short on time and cash, how do you get started? After setting up my own at-home herb garden, which cost me less than $30 — I’ve got you covered.
Step 1: Choose the right herbs.
First, you have to figure out which herbs to grow in the first place. Which herbs do you use the most? If you use thyme constantly, it’s worth growing, but there’s no reason to grow a herb you will never realistically eat. If you have to, check your cupboards and see what you use the most.
You should also look into what herbs you can grow. To do that, you’ll need to identify your hardiness zone. The climate you live in will determine what herbs you can grow. You can check your hardiness zone here. Make a list of the herbs you can grow and their light requirements. Before you invest in a big garden, you’ll want to make sure the growing conditions in your area are suitable. I recommend starting with several small herbs and keeping them for a month before investing further.
Step 2: Pick a spot.
Herbs are a lot more stubborn than houseplants. My monstera will grow anywhere, but my basil is stubborn. How do you choose the perfect place in your home?
Herbs require 6-8 hours of direct sunlight a day when grown indoors. Yes, that includes the popular indoor herbs like basil, rosemary, and thyme. The perfect place for planting is within twenty inches of a window, but if that’s not possible, don’t fret. Mirrors are great for increasing the light your herb garden gets, and you can procure one at your local thrift store. Lamps are also a great solution. In fact, I’d recommend both. Simply turning a nearby lamp on in the evening is enough to supplement the sunshine your plants will receive during the day. Of course, you’ll need to monitor this over time. If your plants begin to droop or get sunburned, you’ll need to adjust their position to meet their light needs.
Finally, arrange for your plants to get some ventilation. Herbs are a lot like humans, except they smell better. You wouldn’t be healthy living your life in a stuffy room, and neither will your herbs. Herbs need plenty of airflow to grow. If you don’t live in a climate where opening your windows daily is ideal, that’s okay! You can still maintain good airflow by positioning your plants towards the center of the room.
Consider the middle of your dining table or your kitchen bench as potential homes for your herbs. Naturally, you’ll have to ensure your herbs can still receive adequate light. You can also increase the airflow of the room by giving your plants a few minutes of airflow from a slow-moving, oscillating fan every evening.
Step 3: Decide what materials you’ll need.
An indoor herb garden is a small project. You aren’t going to need 25 bags of soil, a misting machine, or kelp fertilizer. Even if you do, you can buy these things later. For now, all you need are pots and herbs.
I paid less than $2 for my pots at the thrift store. A plastic, shallow pot or a basic planter is perfect for your herb garden, and you can make simple adjustments to the drainage holes and depth if needed.
Once you’ve procured your pots, you’re going to need to ensure they are suitable. Herb gardens need a lot of water, and a lot of drainage to stop the roots of your plants from rotting. Generally, herbs need two-three drainage holes spaced an inch apart. No adequate drainage? No problem! I simply made my own drainage holes with a screwdriver, a hammer and five minutes.
Step 4: Buy your herbs.
After you’ve set up an environment for your herbs to grow, you’ll need to buy the herbs themselves. Opting for seeds is risky. Yes, they grow eventually, but they won’t deliver you enough harvest to use for at least a year. Instead, invest in seedlings, which you can buy at your local nursery or even a grocery store.
To make sure this investment is worth it, you’re going to need to choose the healthiest herbs to start your garden with. Take these tips into consideration:
- Choose the plant with the strongest stem and newest growth. Stores often give their plants daily fertilizer – the plant equivalent of steroid injections. These gym-junky plants look healthy but will flop without a strong stem delivering them nutrients.
- You don’t need to buy “organic” herbs. They cost more and won’t taste better.
- Your plants will quickly die if you bring them home with infestations or diseases. Always check for tiny bugs, eggs, or weird spots under the leaves and under the plant pot.
- Keep the receipt. If your plants die quickly, you may be able to get a refund.
After you’ve brought them home, replant your herbs in their new garden home.
Step 5. Maintain your garden
There is no reason to need to continuously invest in your herb garden if you take care of it. To do that, you’ll need to keep on top of three things:
- Water. Your herbs are going to need quite a lot of water. Ideally, you’ll be touching the soil every second day, and watering when the top inch feels dry. You don’t need to buy a mister, a glass from the kitchen is perfect if you water into the roots.
- Harvest. It can be brutal to pick apart your precious plant, but you’ll need to do it at least fortnightly. Never harvest more than 1/4th of your entire plant, and ideally, pluck leaves from different branches. Dangling harvested branches from a string will give you dried herbs for later – and make you look like a witch!
- Fertilize. Once a season, you’ll need to fertilize. Don’t buy expensive fertilizer, instead invest $5 in a powdered fertilizer that will last you years. Simply mix the powder into water and water plants as usual. If you fertilize your herbs too much, their flavor will be less concentrated.
All in all, my new garden takes me less than five minutes a week to maintain. Finally — I can grow my rosemary, and eat it too.
Karie is a 22-year-old commerce student from country Australia. When she isn’t chasing kangaroos out of her garden, she writes about scams for her blog ‘The Snapping Point’.
Image via Pexels
Like this story? Follow The Financial Diet on Facebook, Instagram, and Twitter for daily tips and inspiration, and sign up for our email newsletter here.